Blog:
Implementing Robotic Arm UDP Feedback via Serial Port. Make Sure the Computer and Robotic Arm Are Connected Successfully
First, make sure that the computer and the robotic arm are successfully connected. The IP addresses of both need to be set to the same network segment. (The robotic arm IP in this tutorial is 192.168.10.18, and the computer IP is 192.168.10.111).
Press the shortcut key win+R to open the Run dialog, enter cmd and press Enter the key to open the Command Prompt window. Enter the following command. If the following response is received, it proves that the connection is successful.
ping RoboticArm IP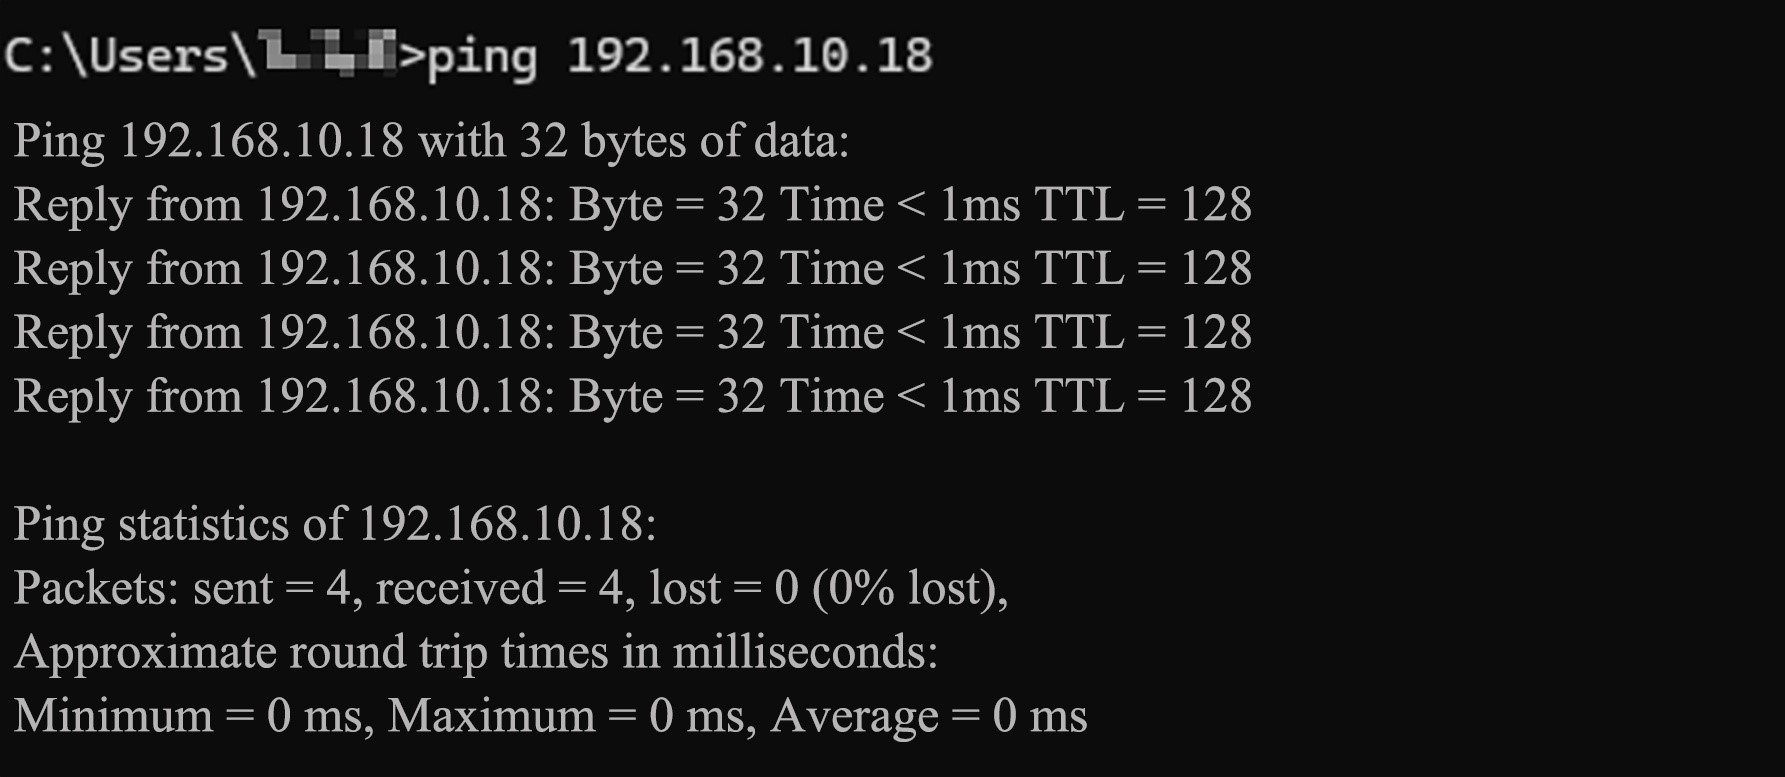
Turn off the Computer Firewall and Security Settings
Since the computer's firewall and antivirus software may intercept by mistake, it is necessary to turn off all firewalls and antivirus software of the host computer (the target device for feedback). We would not introduce any closing method of the corresponding settings of the antivirus software. Please search on the Internet and study detailed steps to close different antivirus software.
Turn off Windows Defender Firewall
Press the shortcut key
win+Rto open the Run dialog, entercontroland press the keyEnterto open the control panel.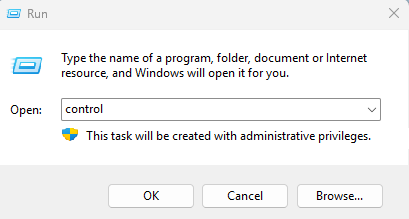
Click
System and Security.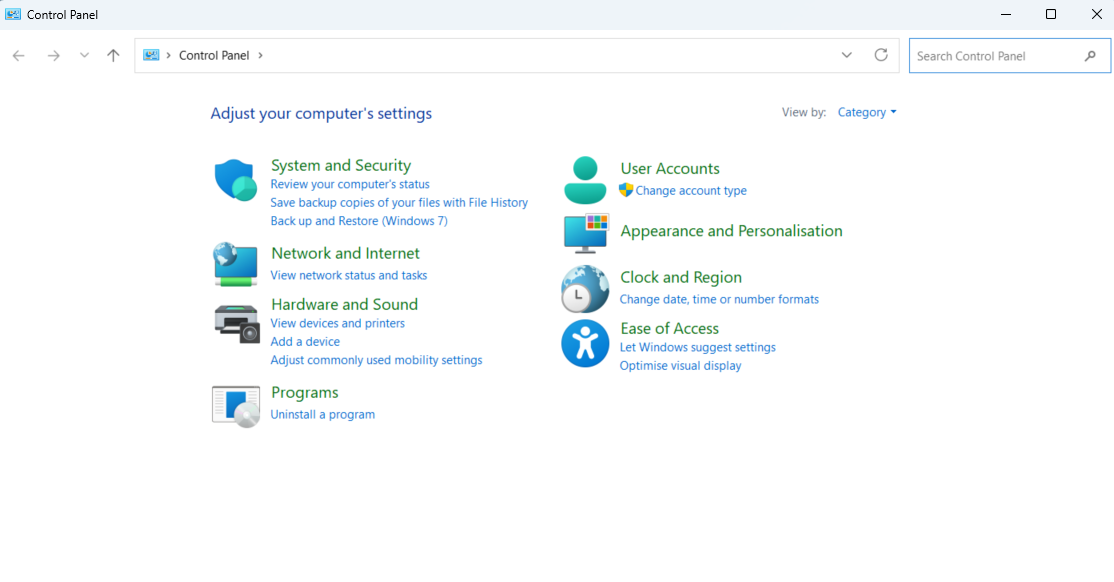
Click
Window Defender Firewall.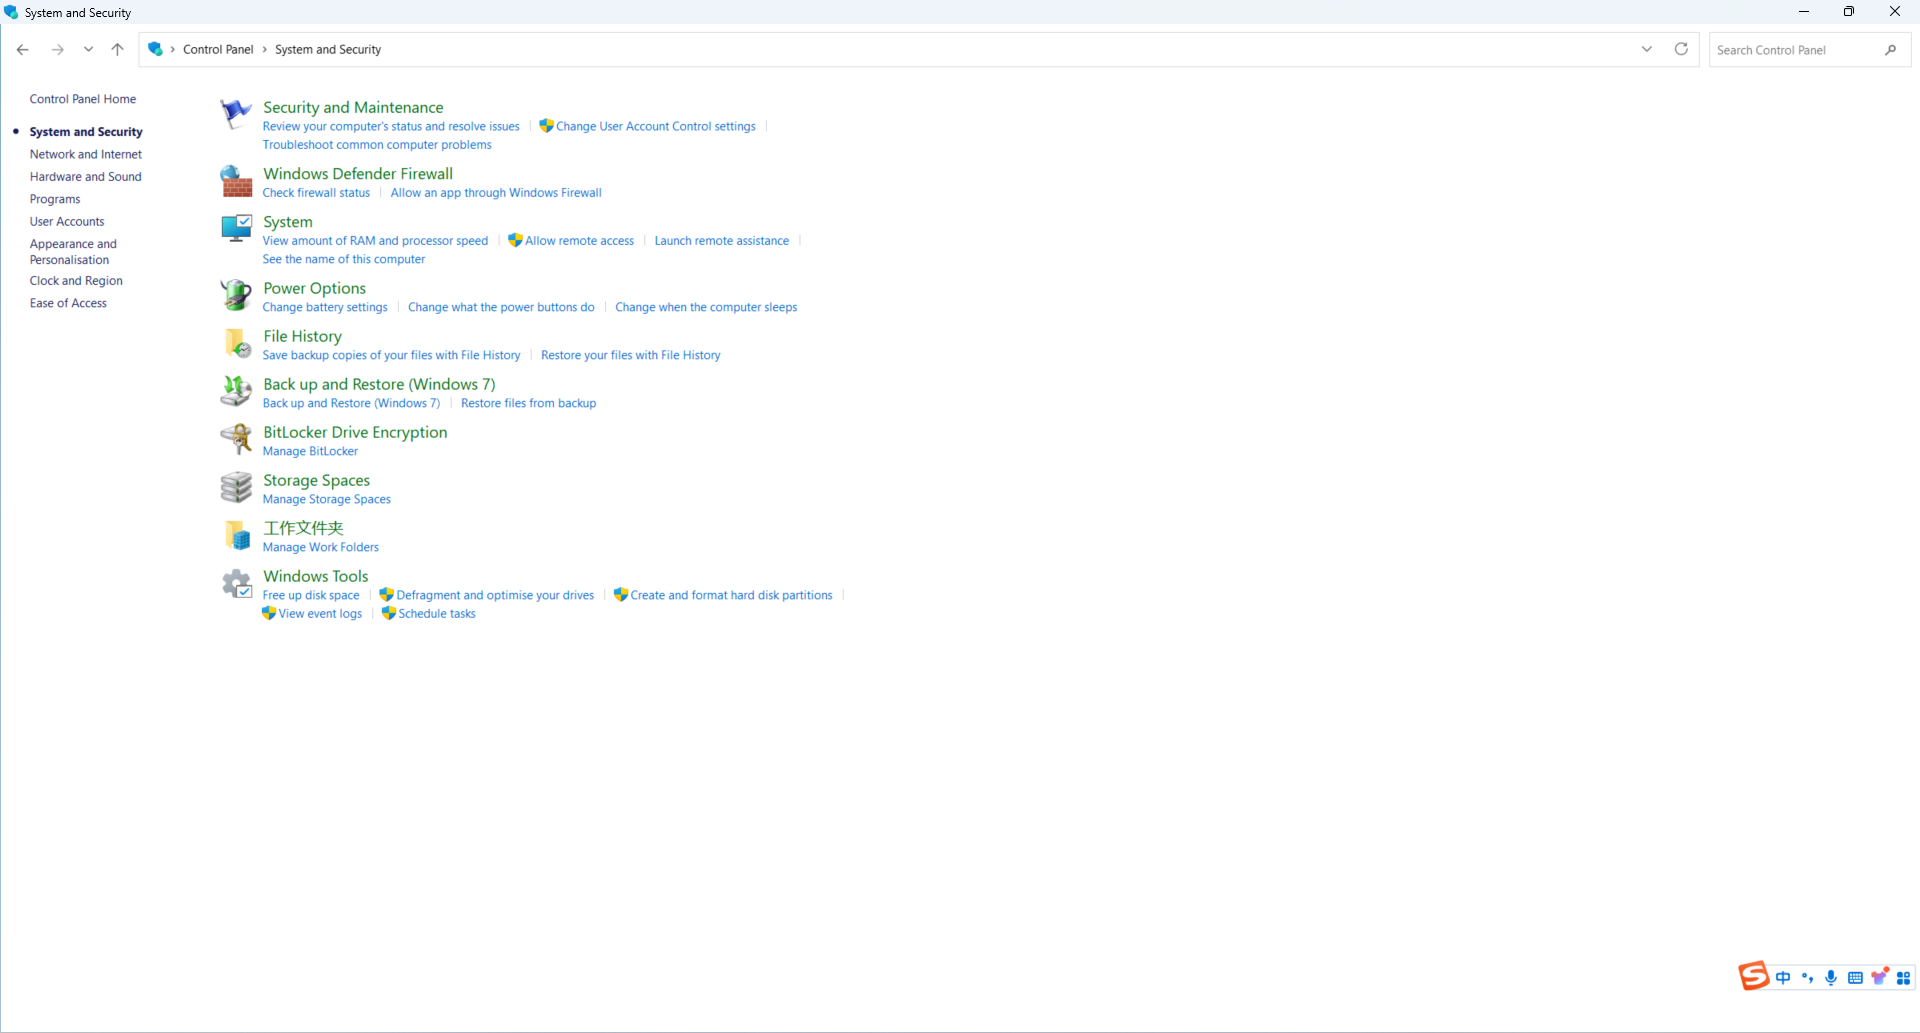
Click
Turn Windows Defender Firewall on or off.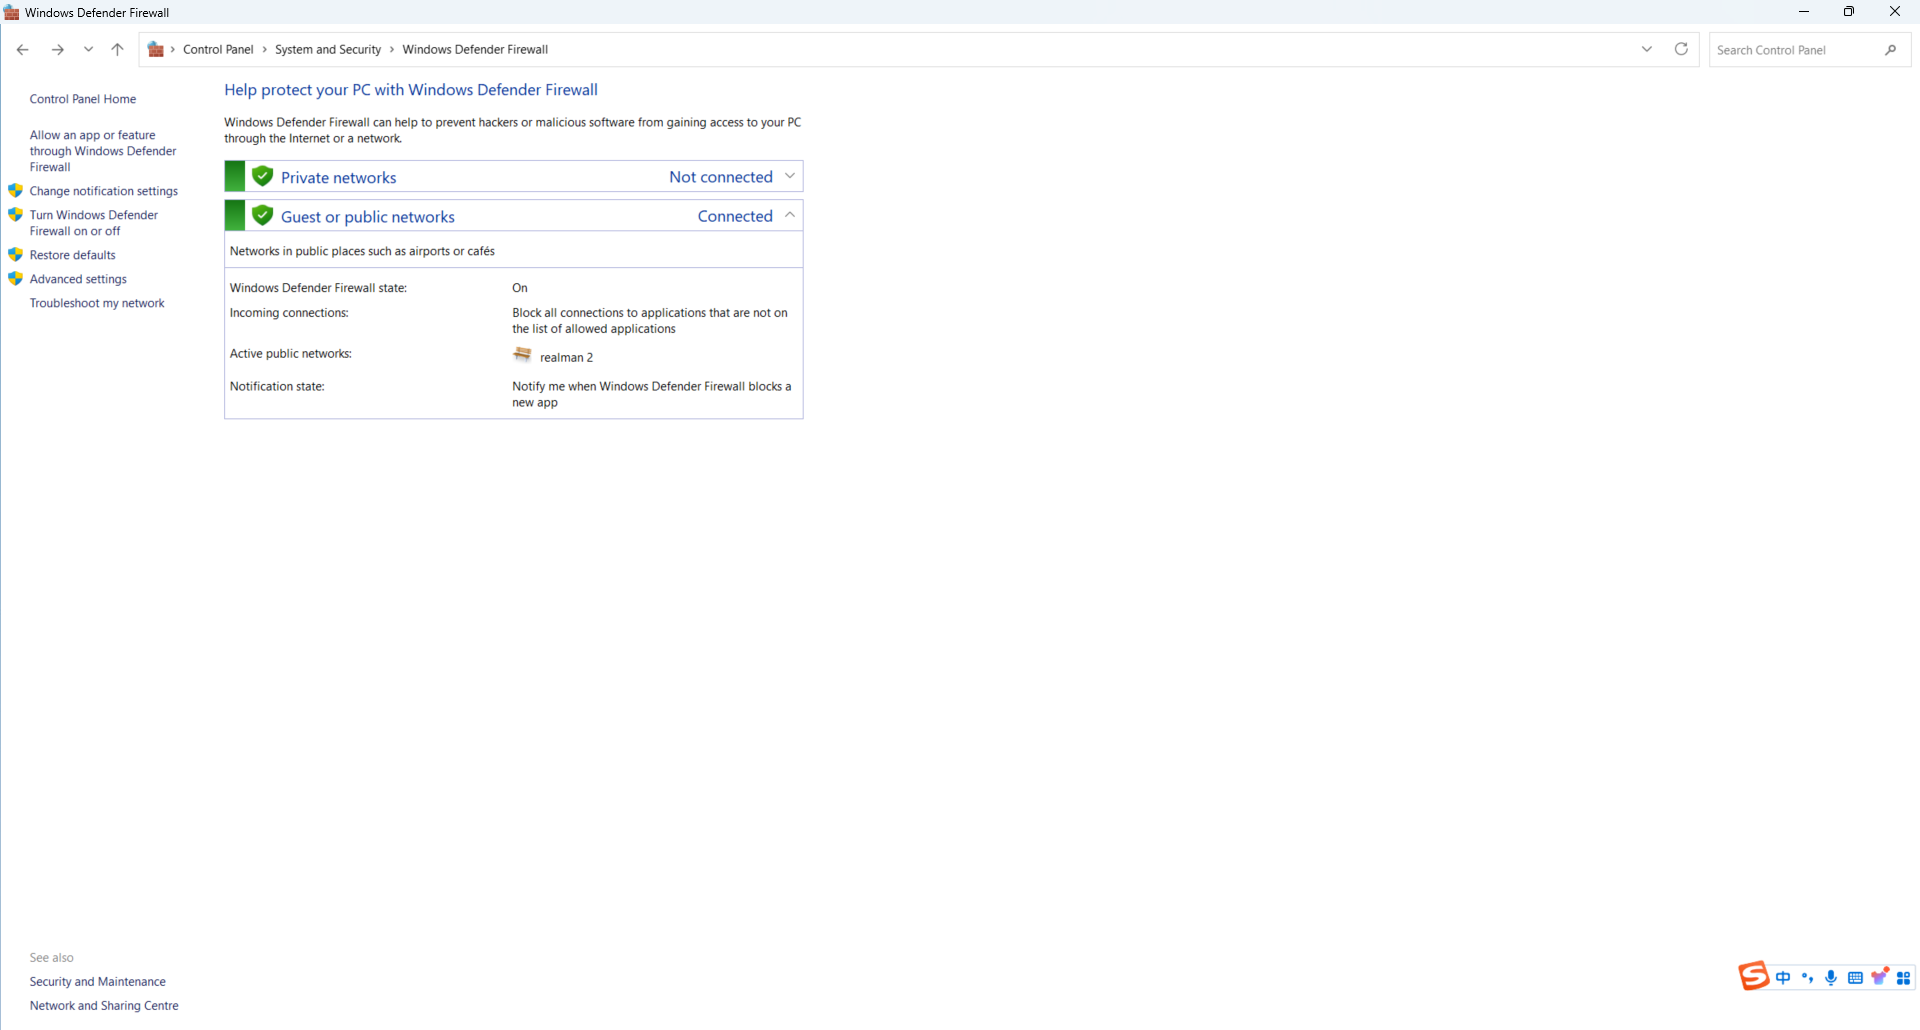
Turn off Windows Defender Firewall and click
OK.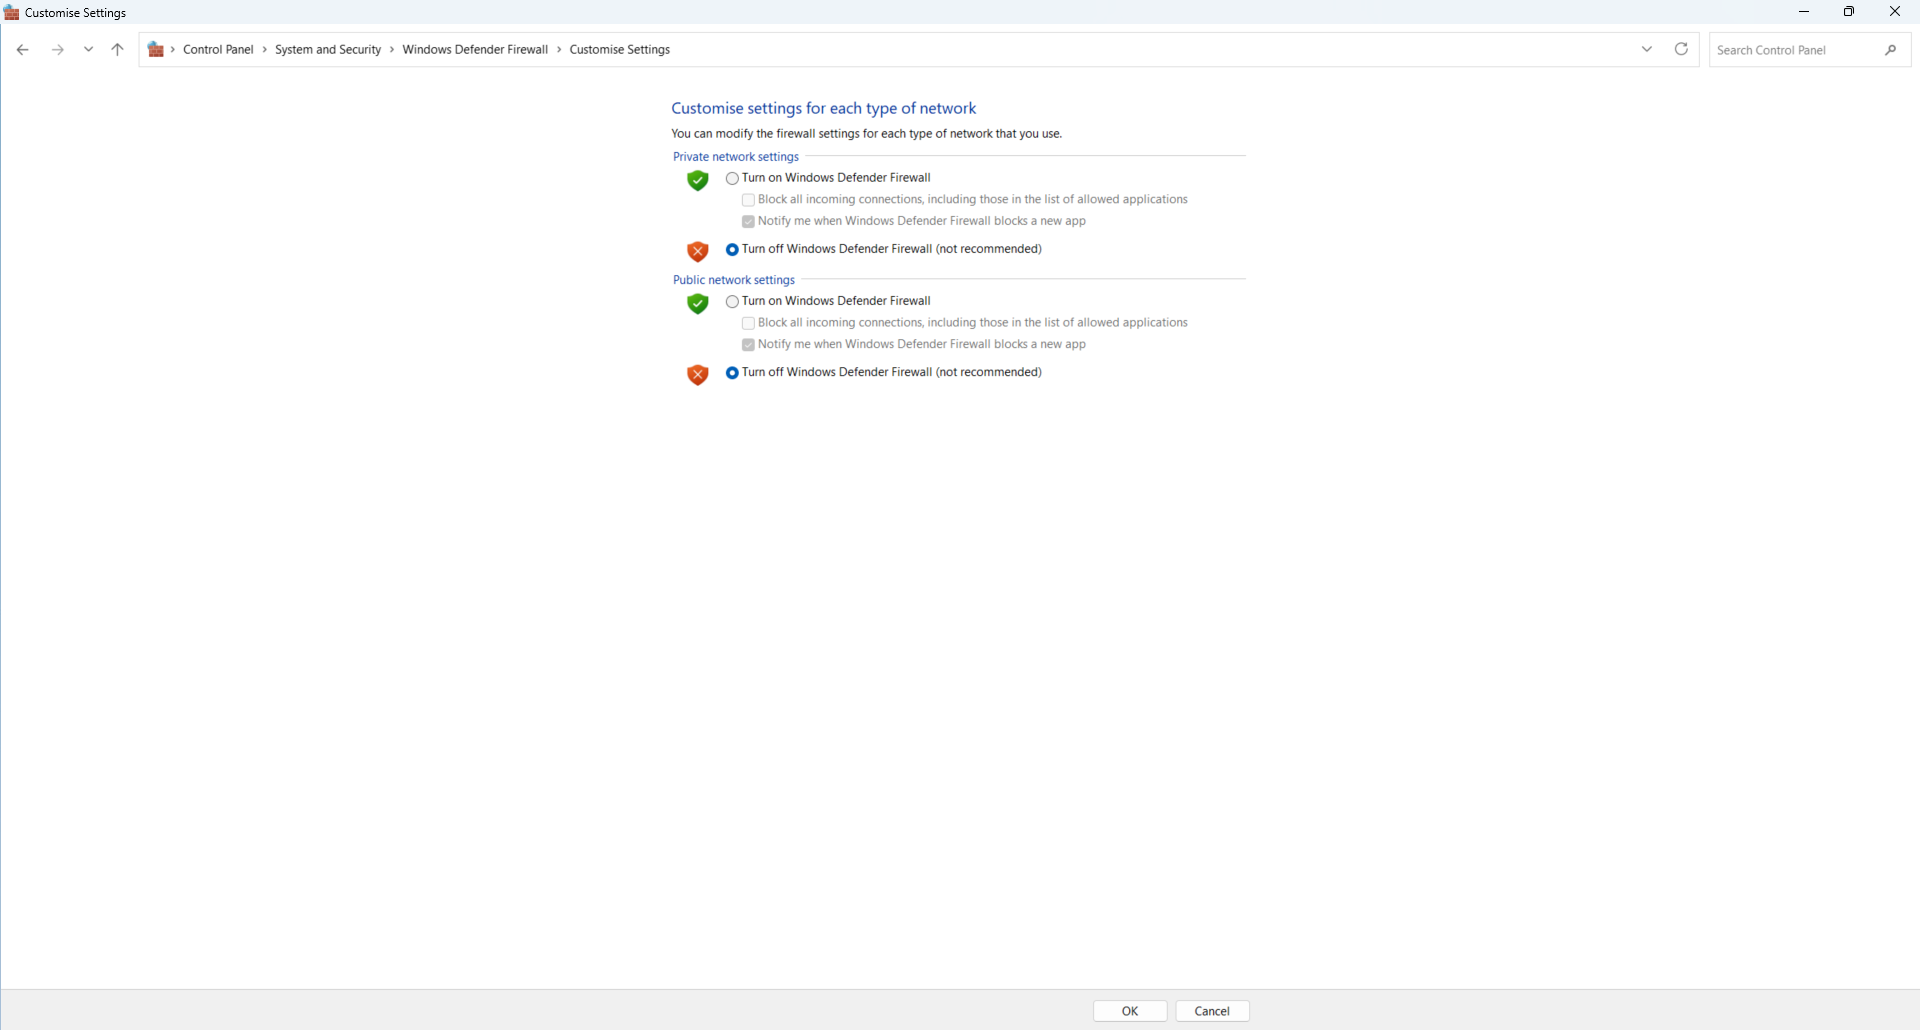
Turn off Windows Security Settings
Click on the computer
Startmenu bar and selectSettings.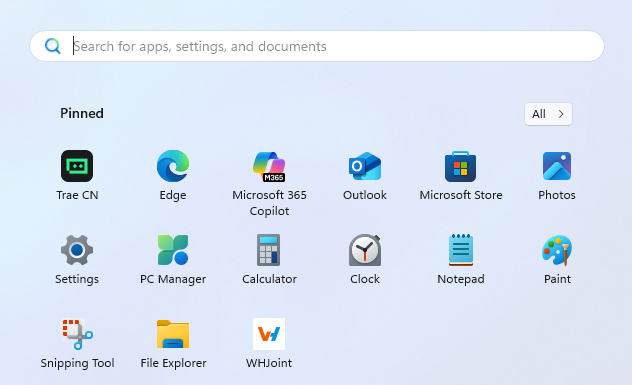
Select
Privacy & Securityand clickWindows Security.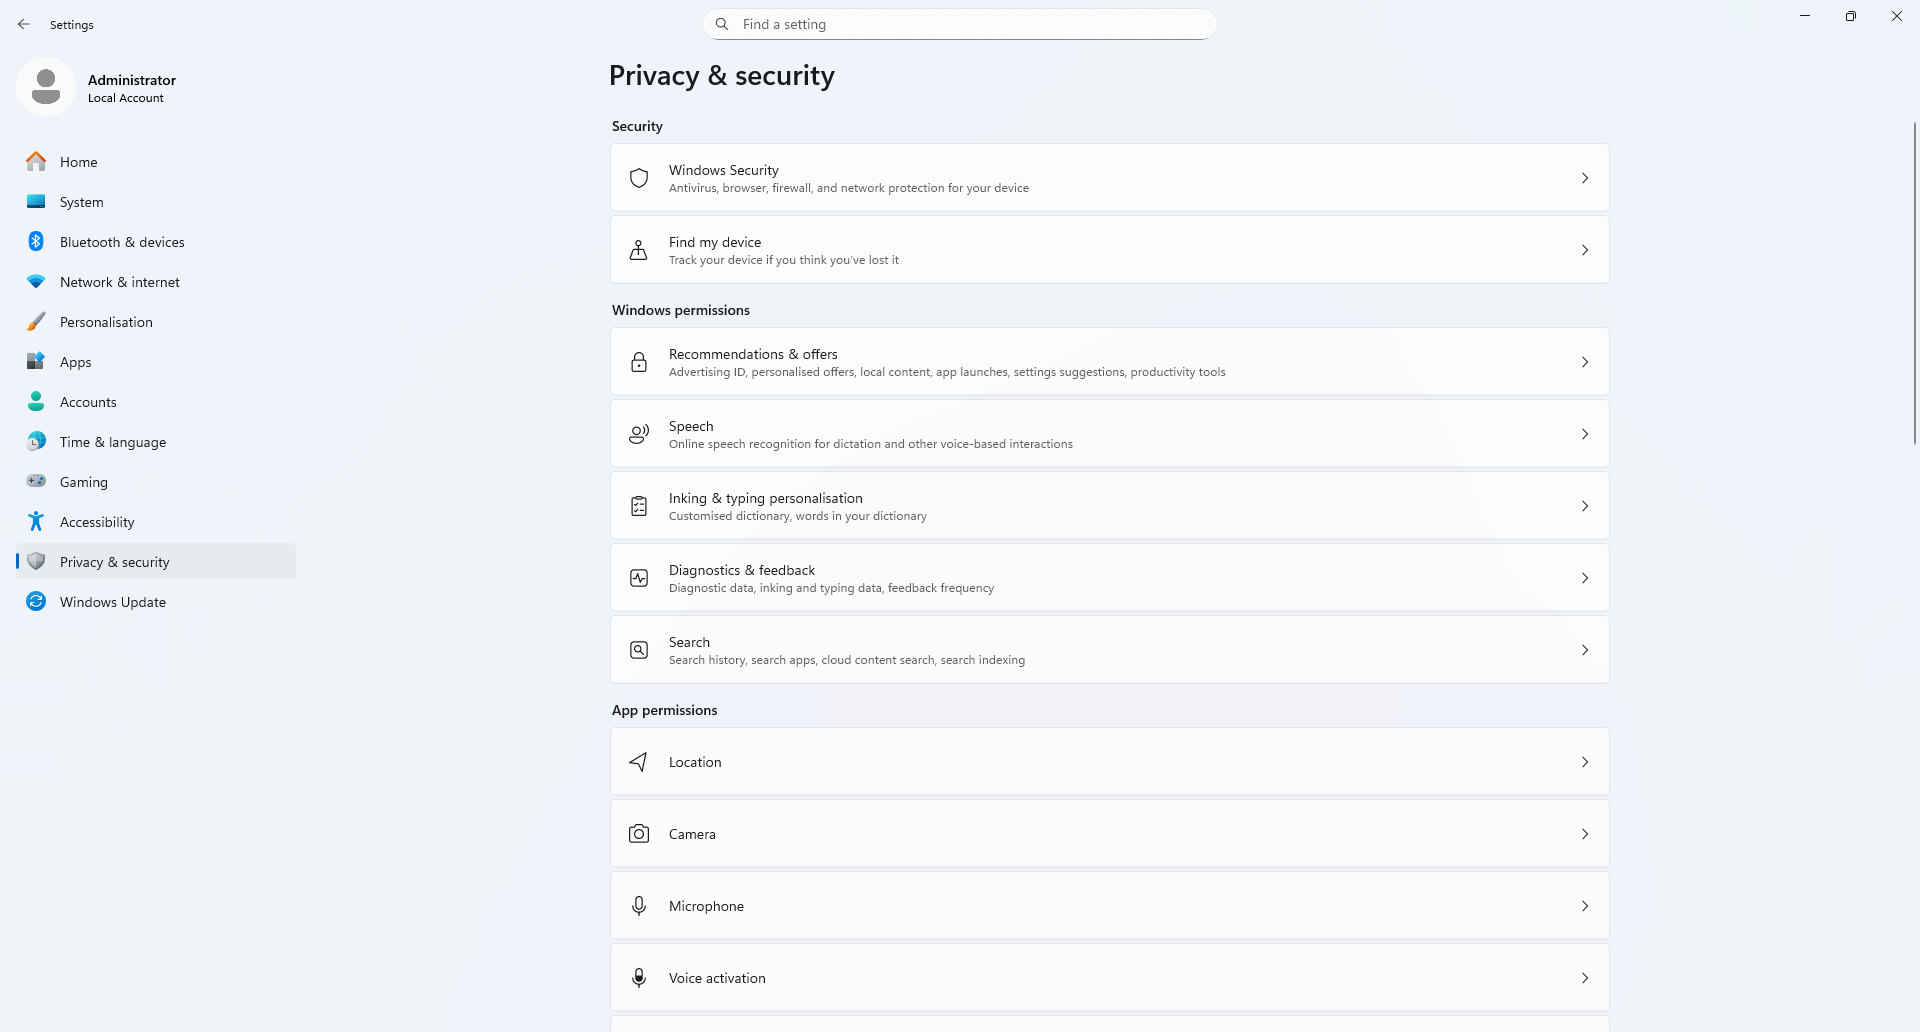
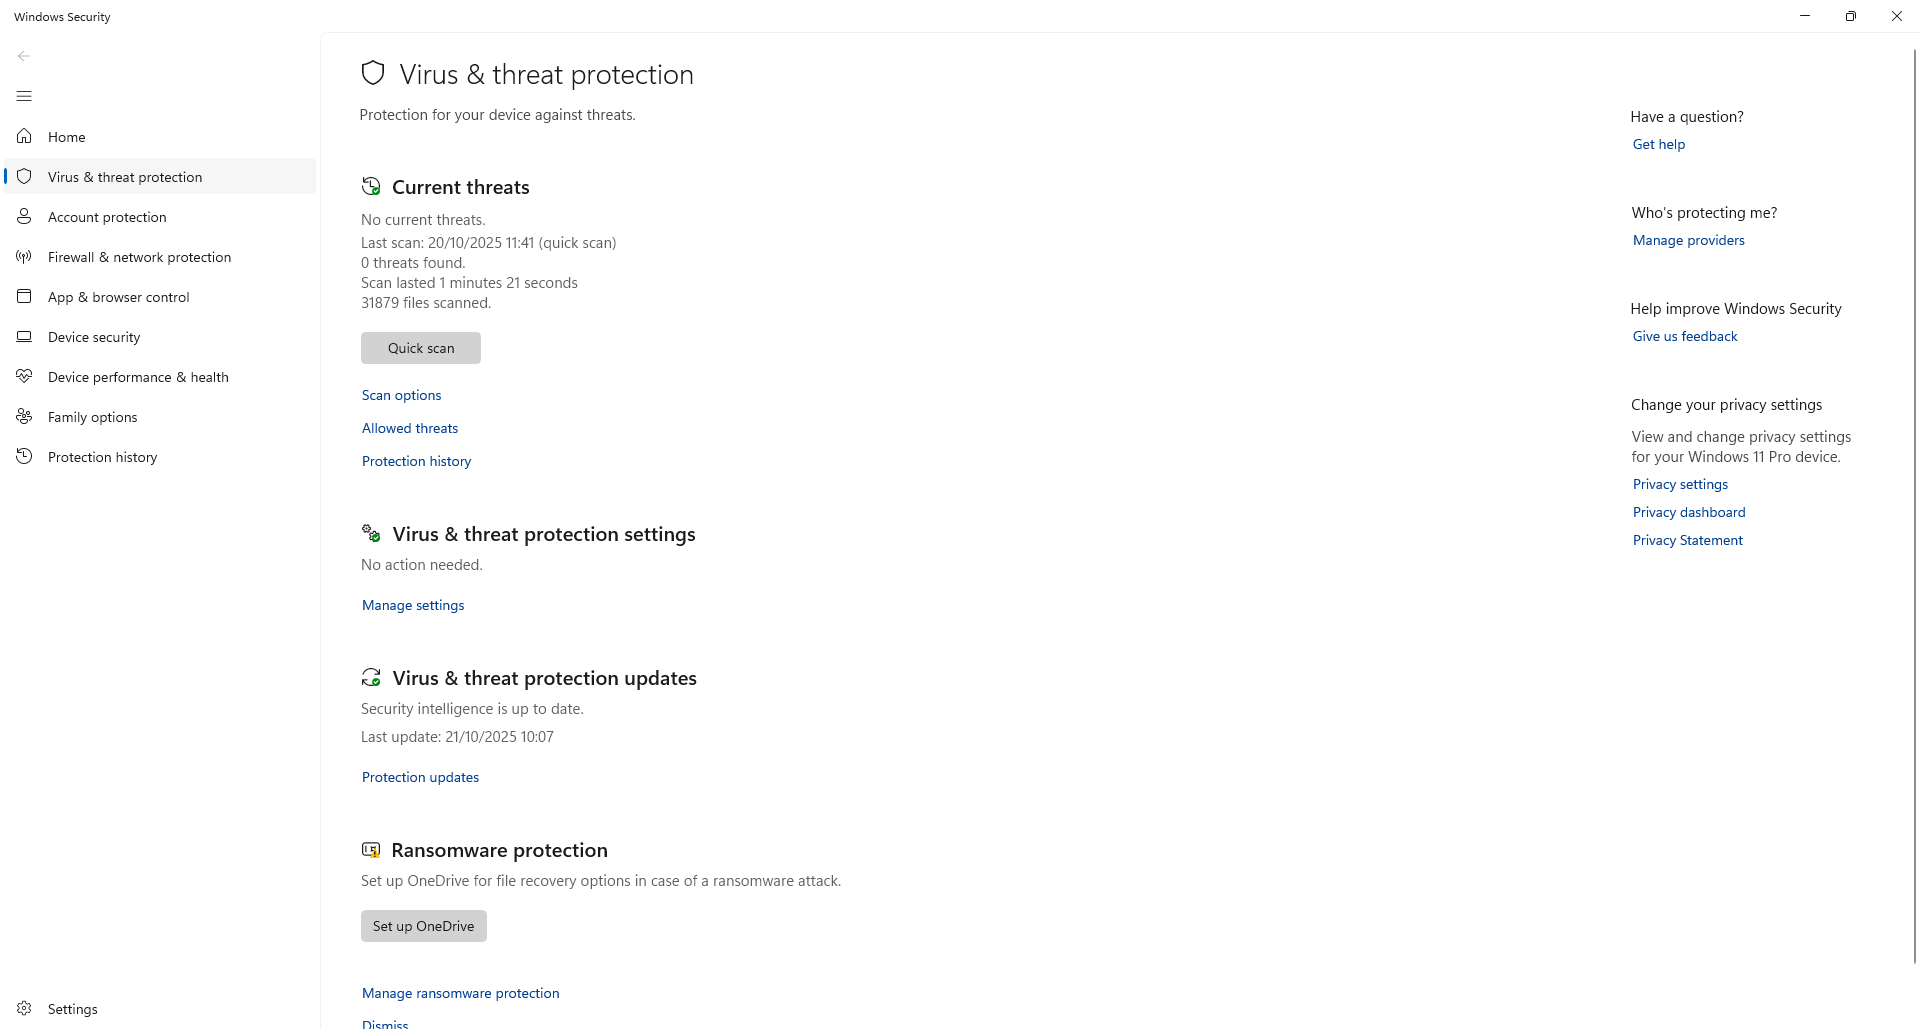
Select
Virus & threat Protection, find the Microsoft Defender anti-virus option, and turn off various types of protection.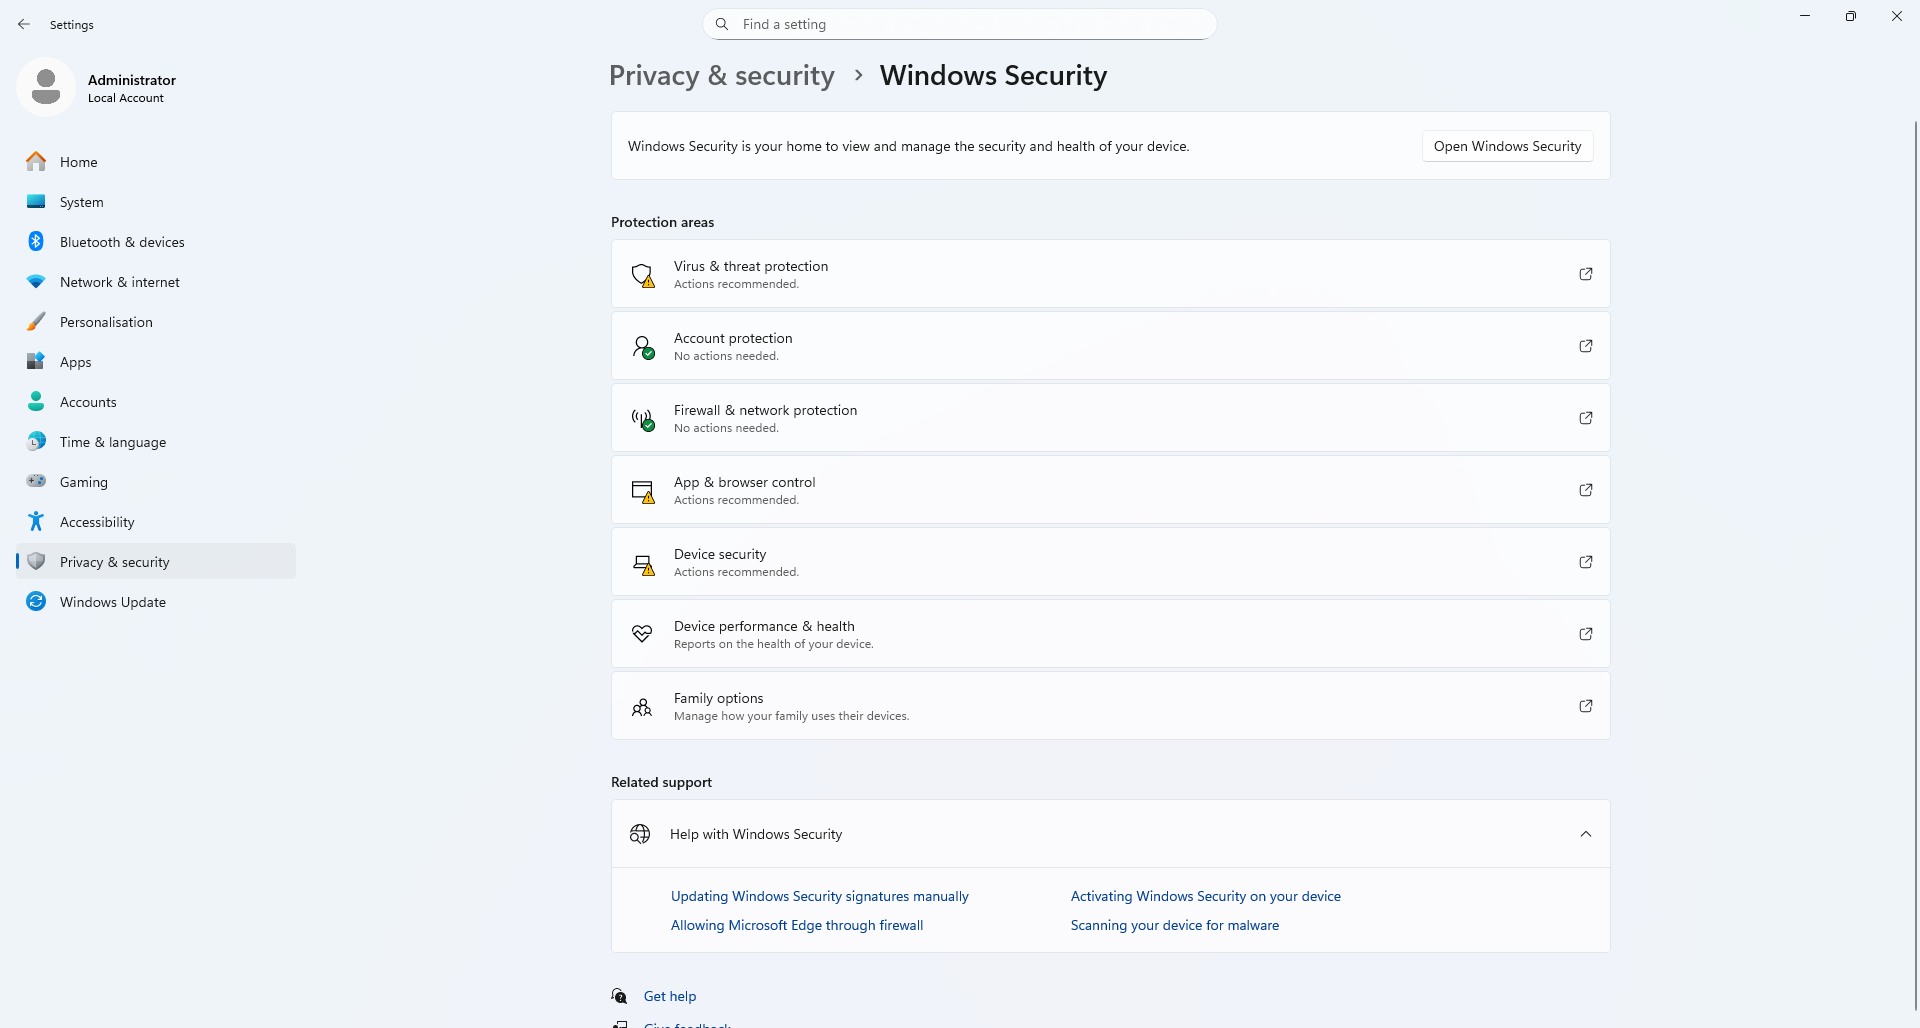
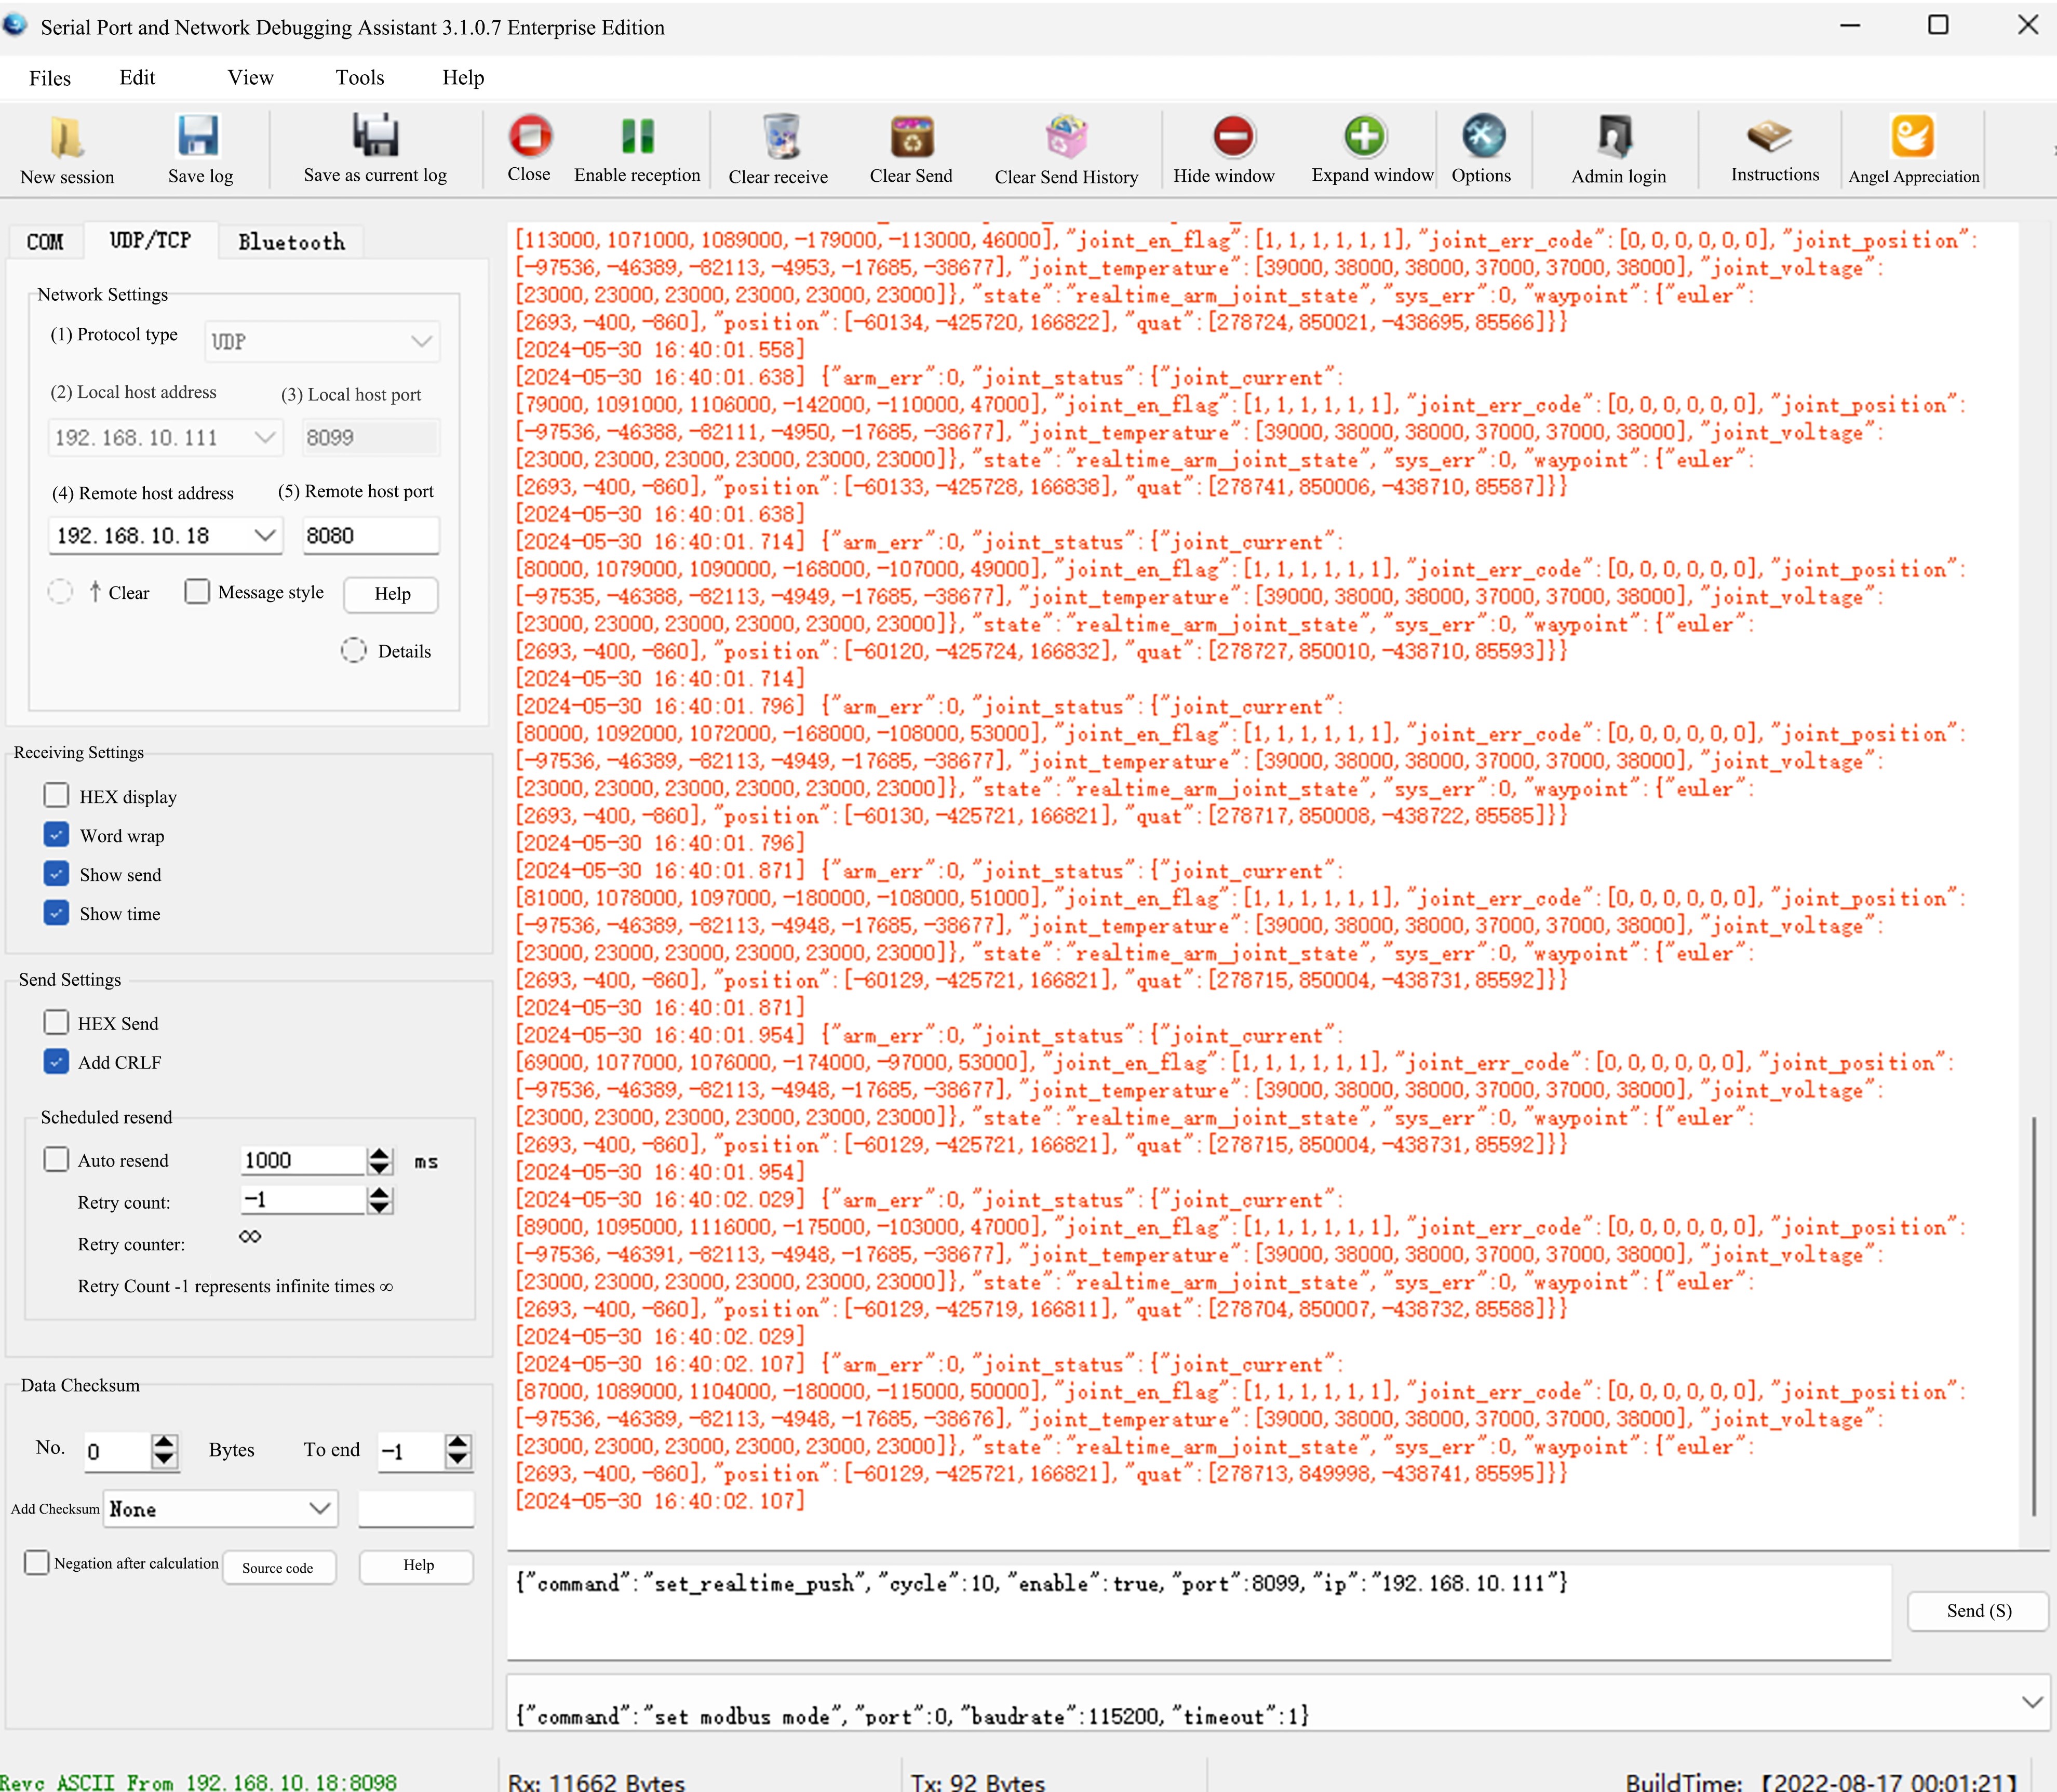
Configure UDP Feedback Transmission
Open the Bingo serial port and select the protocol type as
TCP Client.Enter the IP address and port number of the robot arm in
Remote host addressandRemote host port(the author's robotic arm IP is 192.168.10.18, and the port number is 8080).Click
Opento enable TCP mode.Enter the JSON command.
json{"command":"set_realtime_push","cycle":10,"enable":true,"port":8099,"ip":"192.168.10.111"}For the description of JSON instructions, please refer to Set the UDP robot arm status active reporting configuration set_realtime_push.
Click
Send.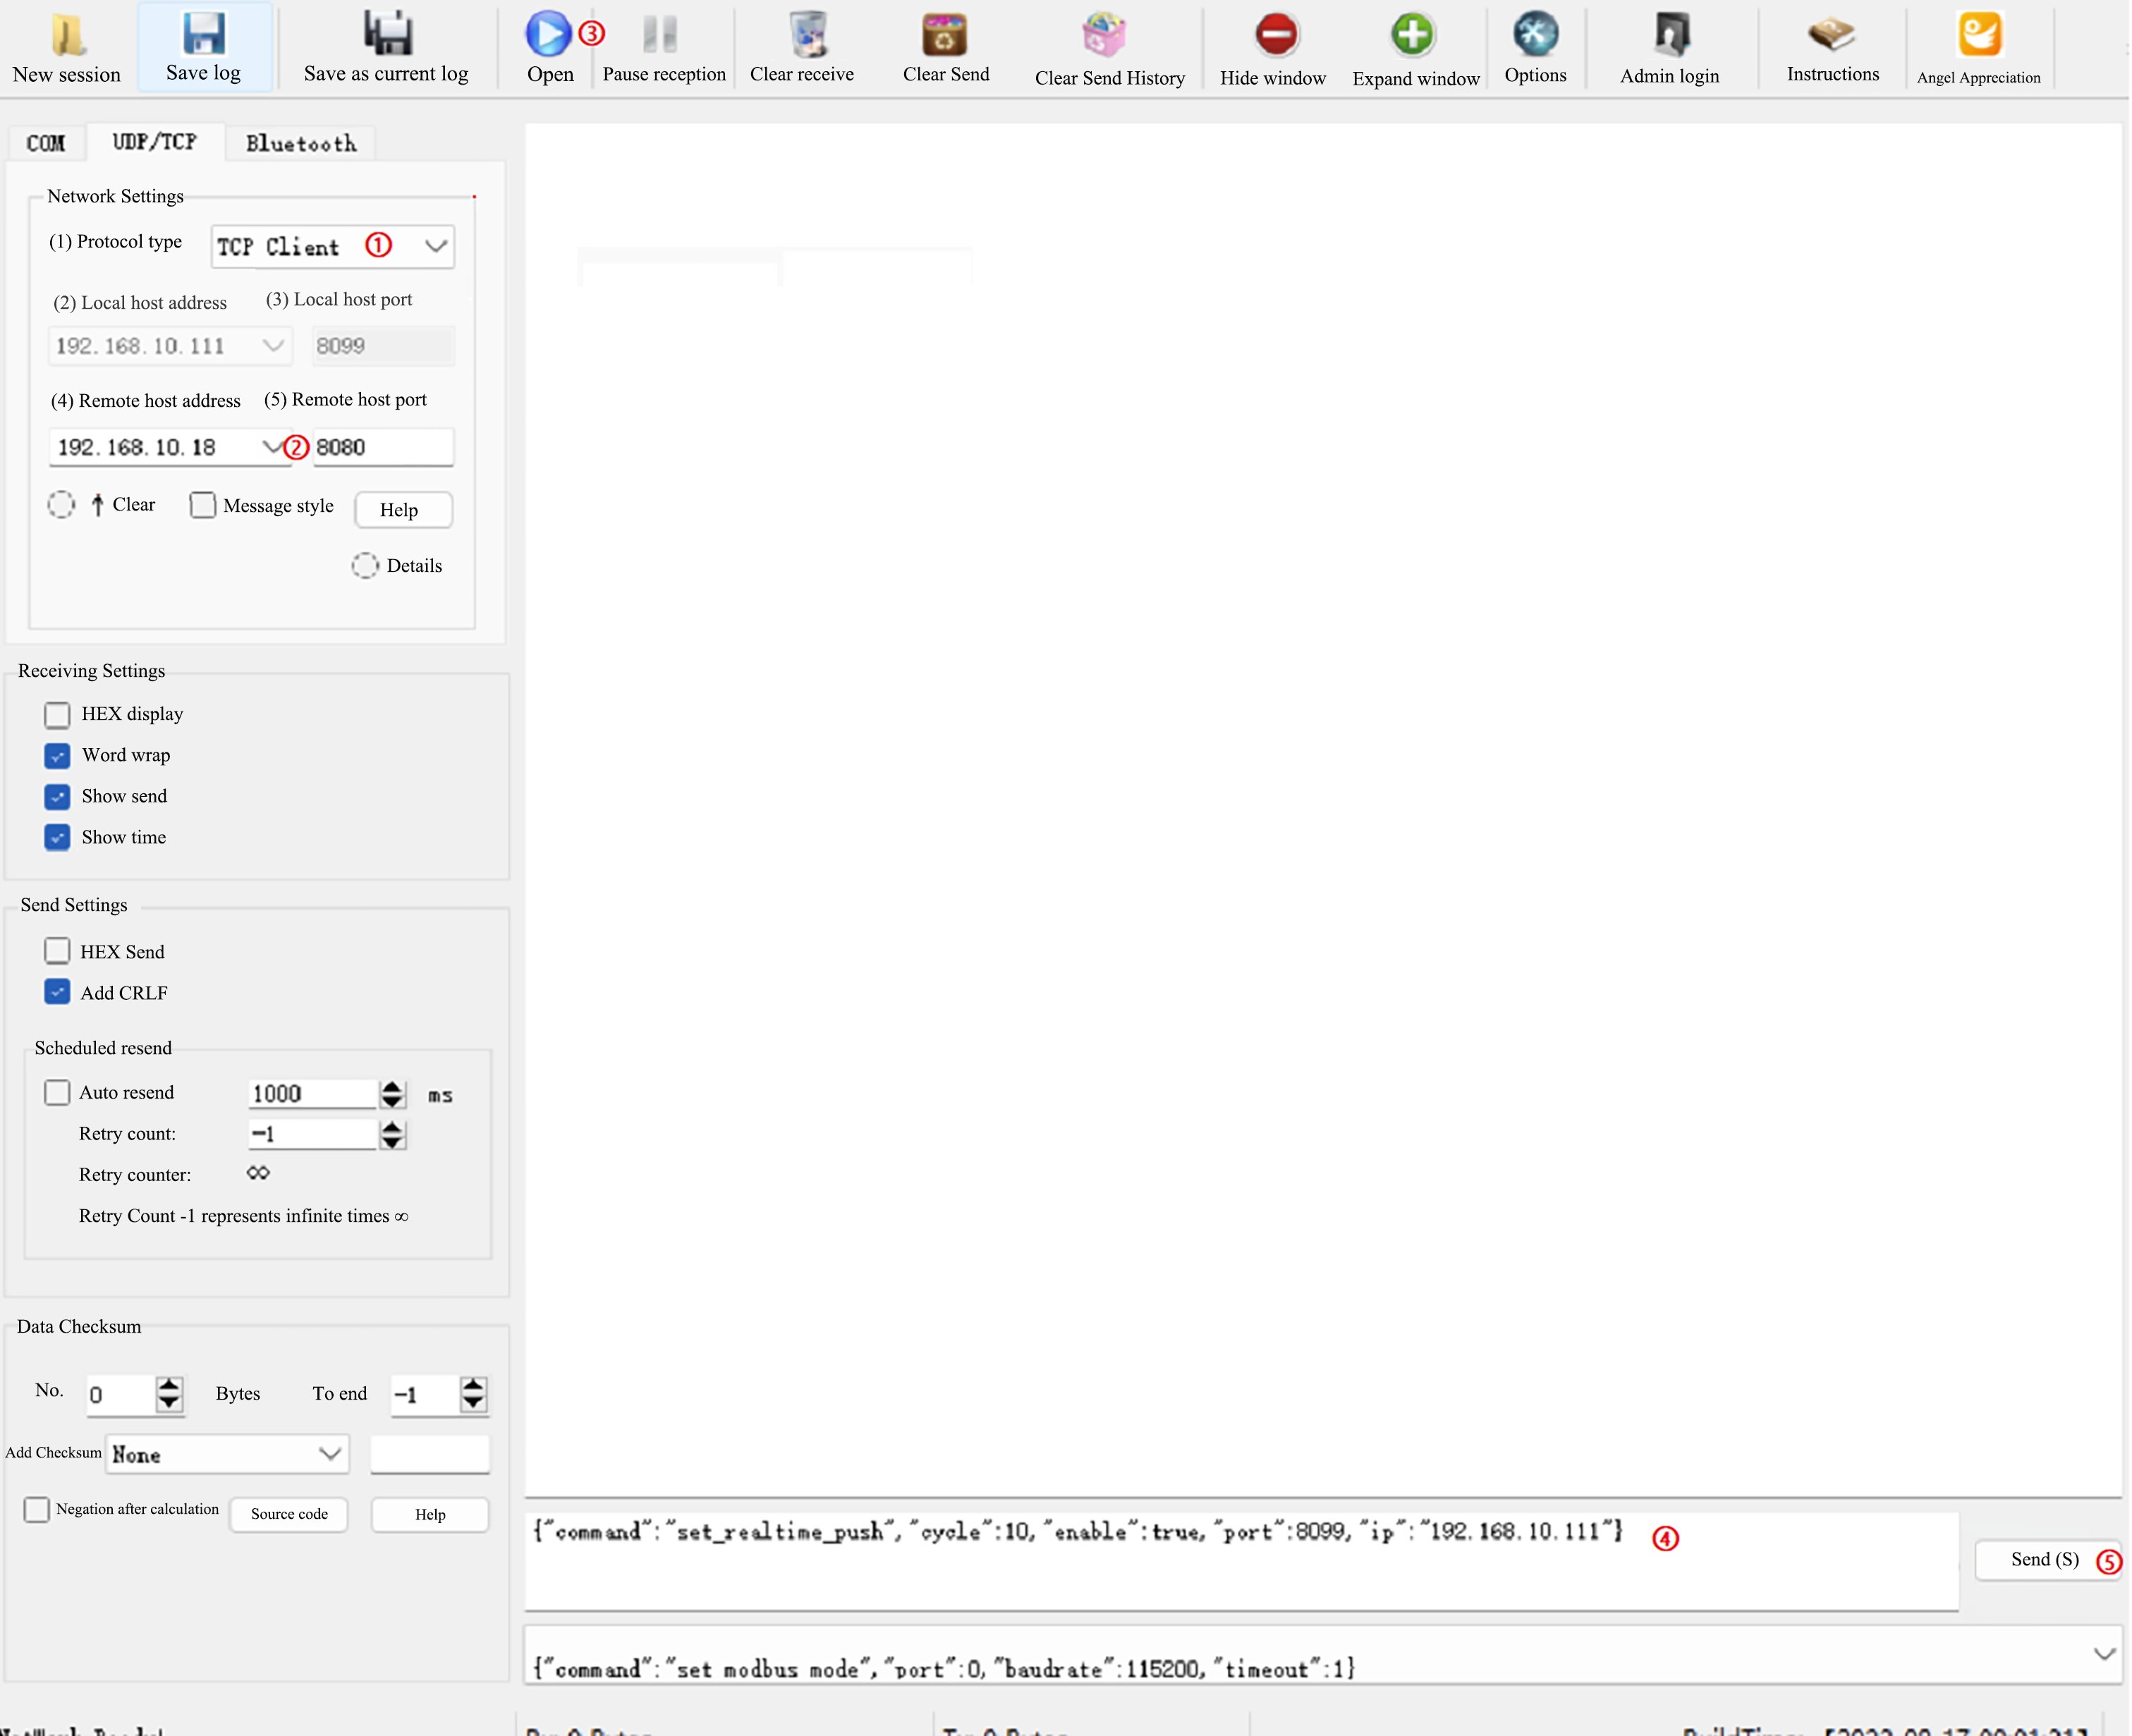
If
{"command":"set_realtime_push","state":true}appears, it means the sending is successful. As shown in the figure below: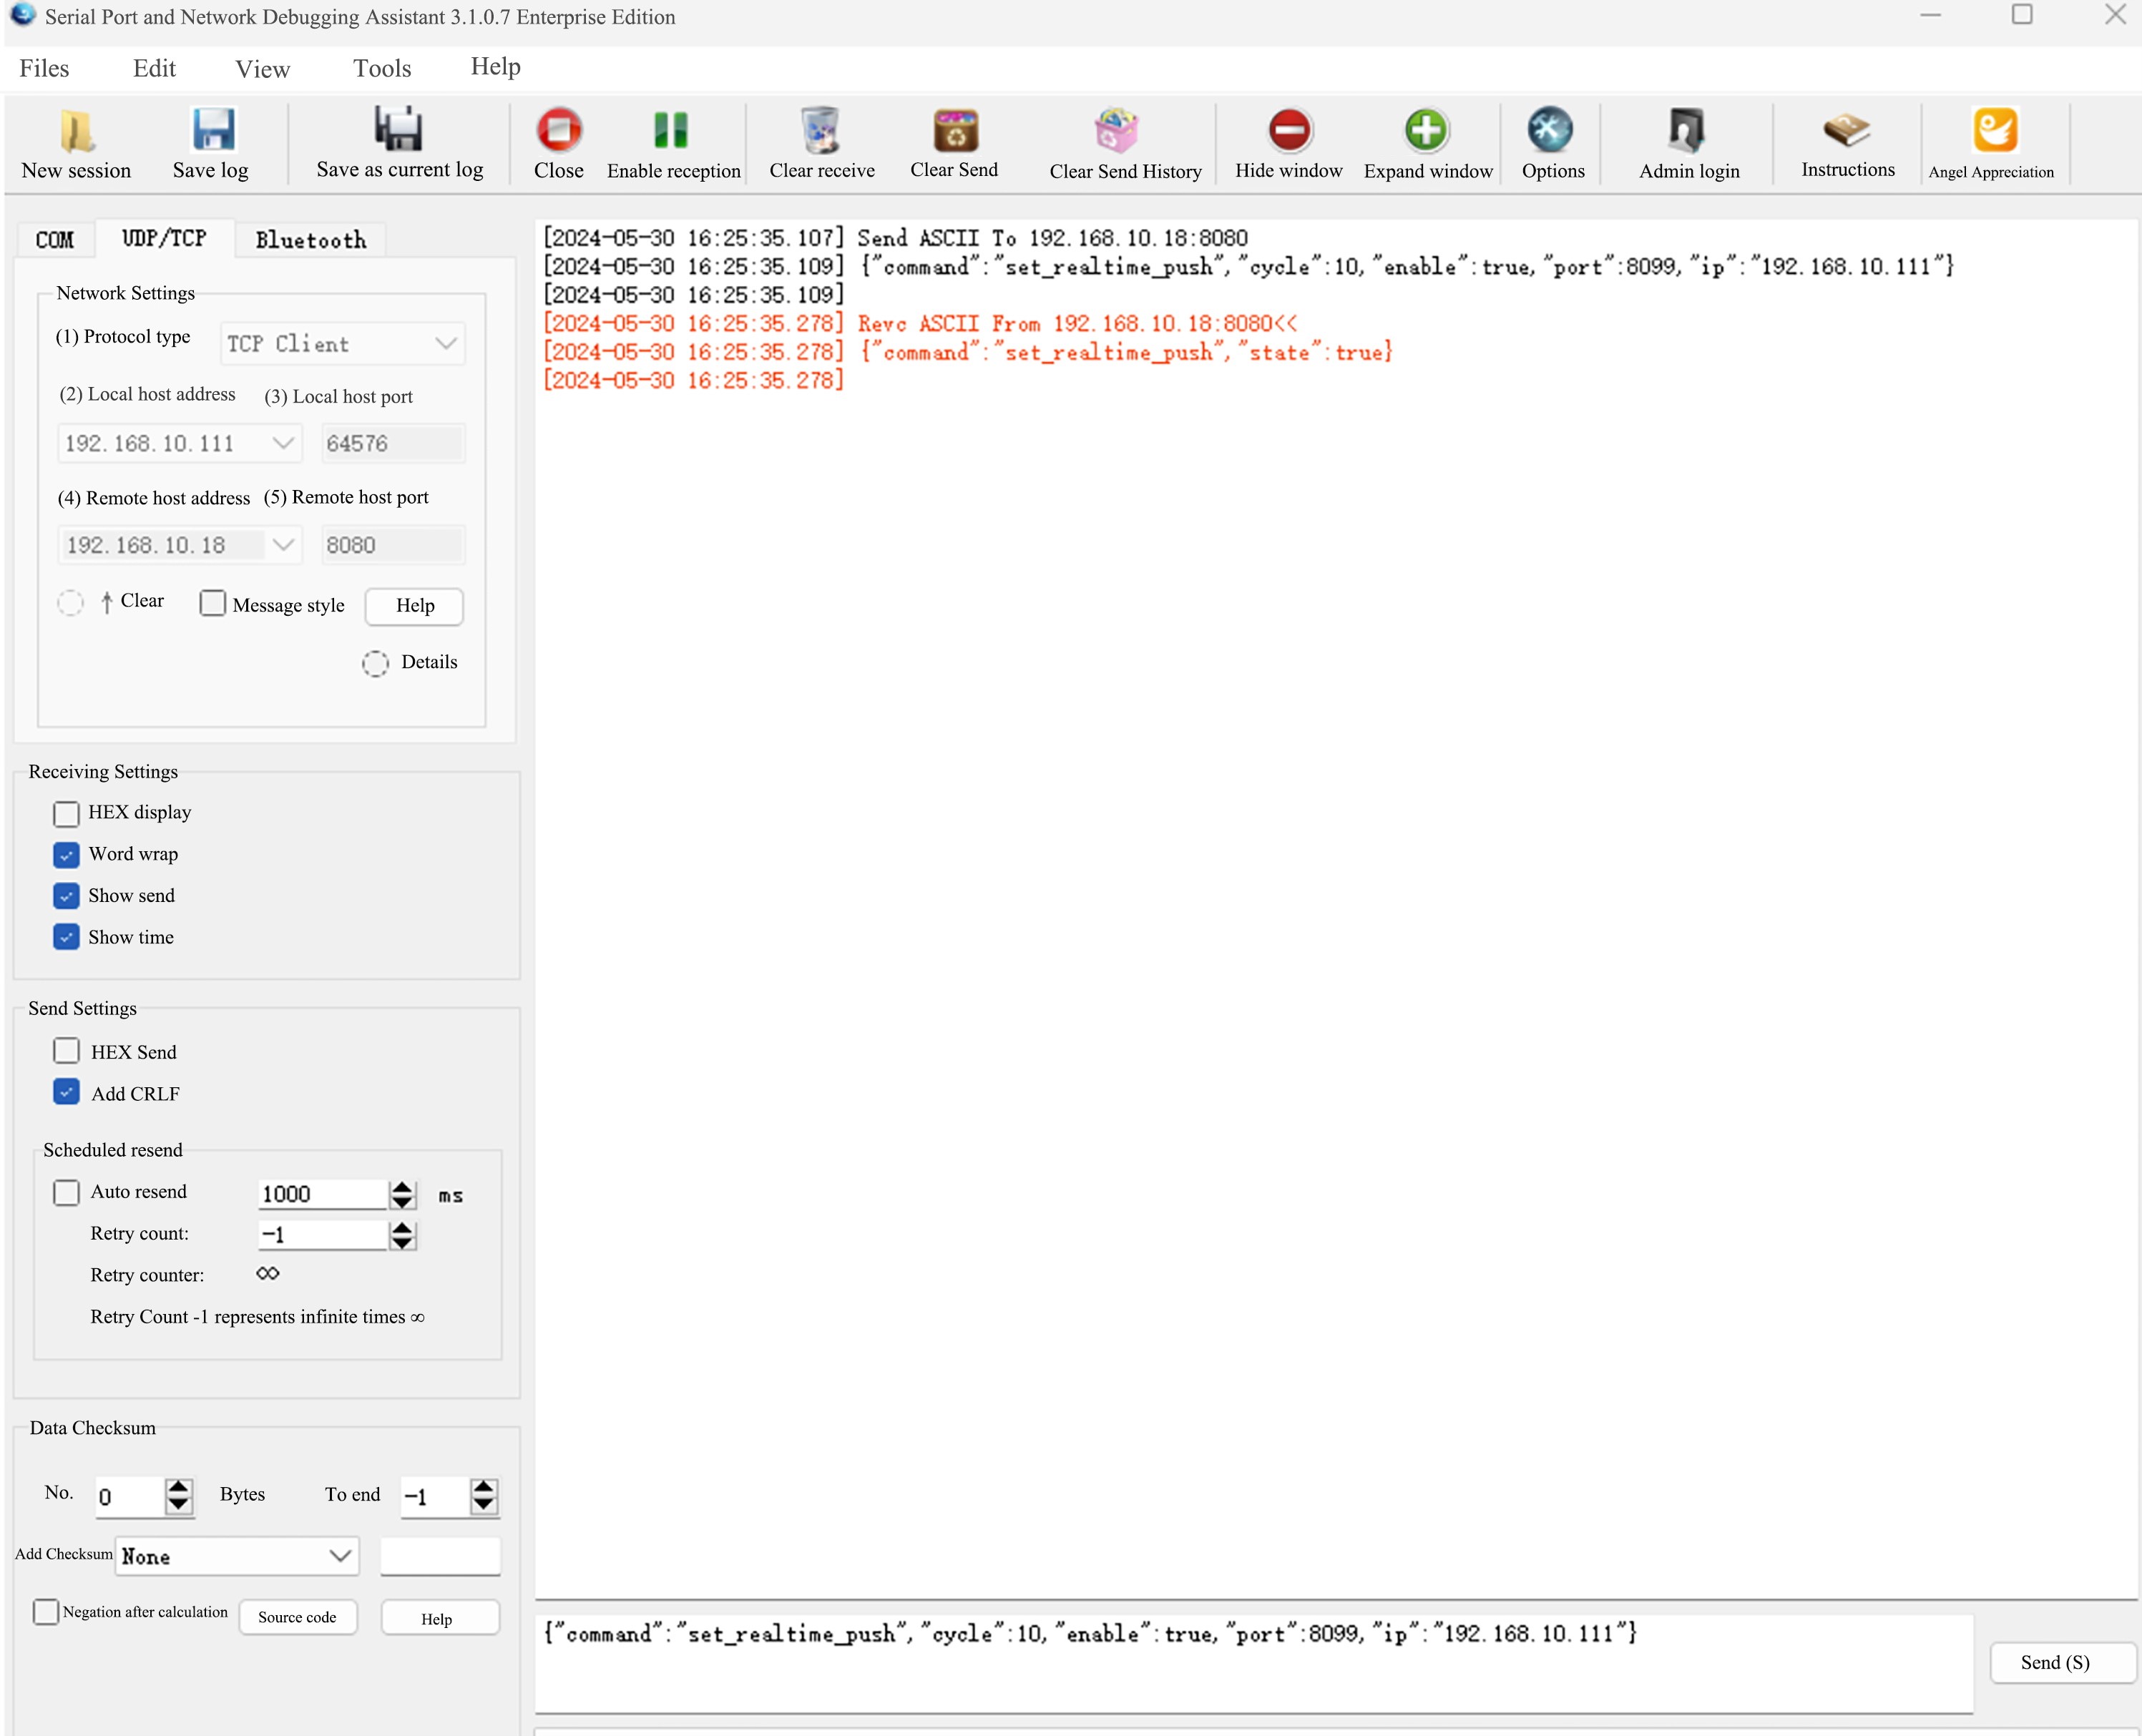
Click
Exitto exit TCP mode.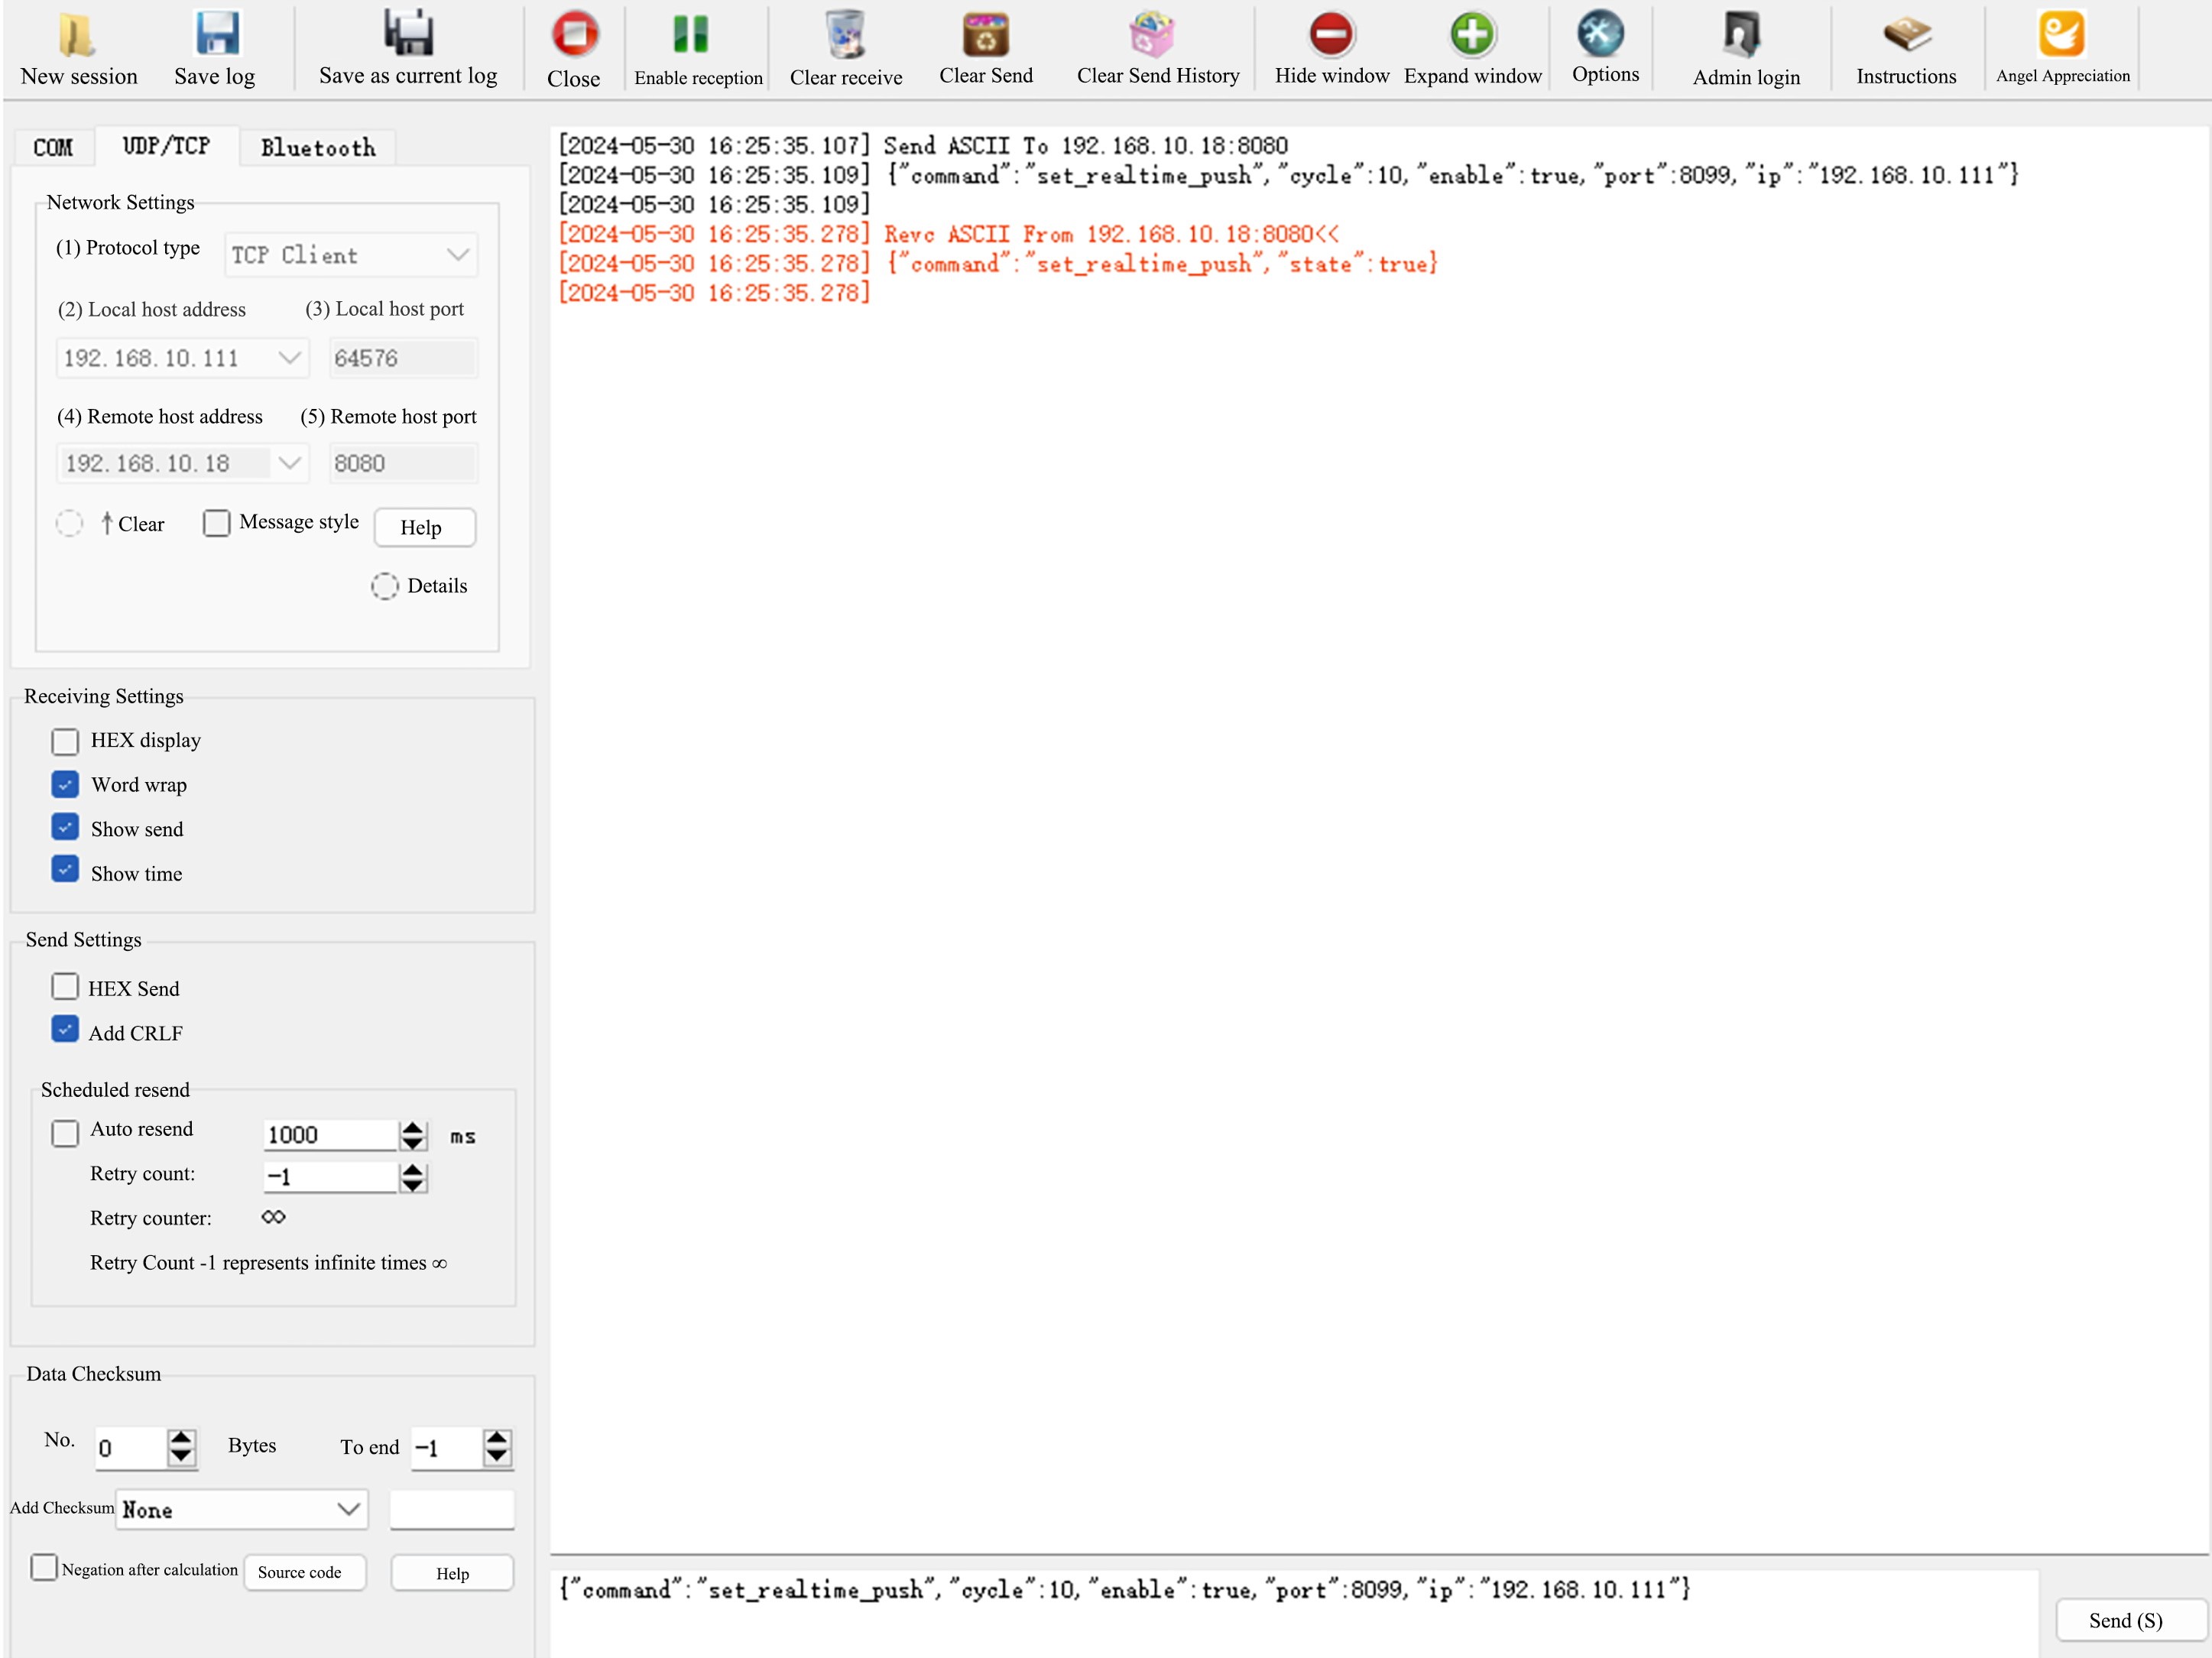
Select the protocol type as
UDP.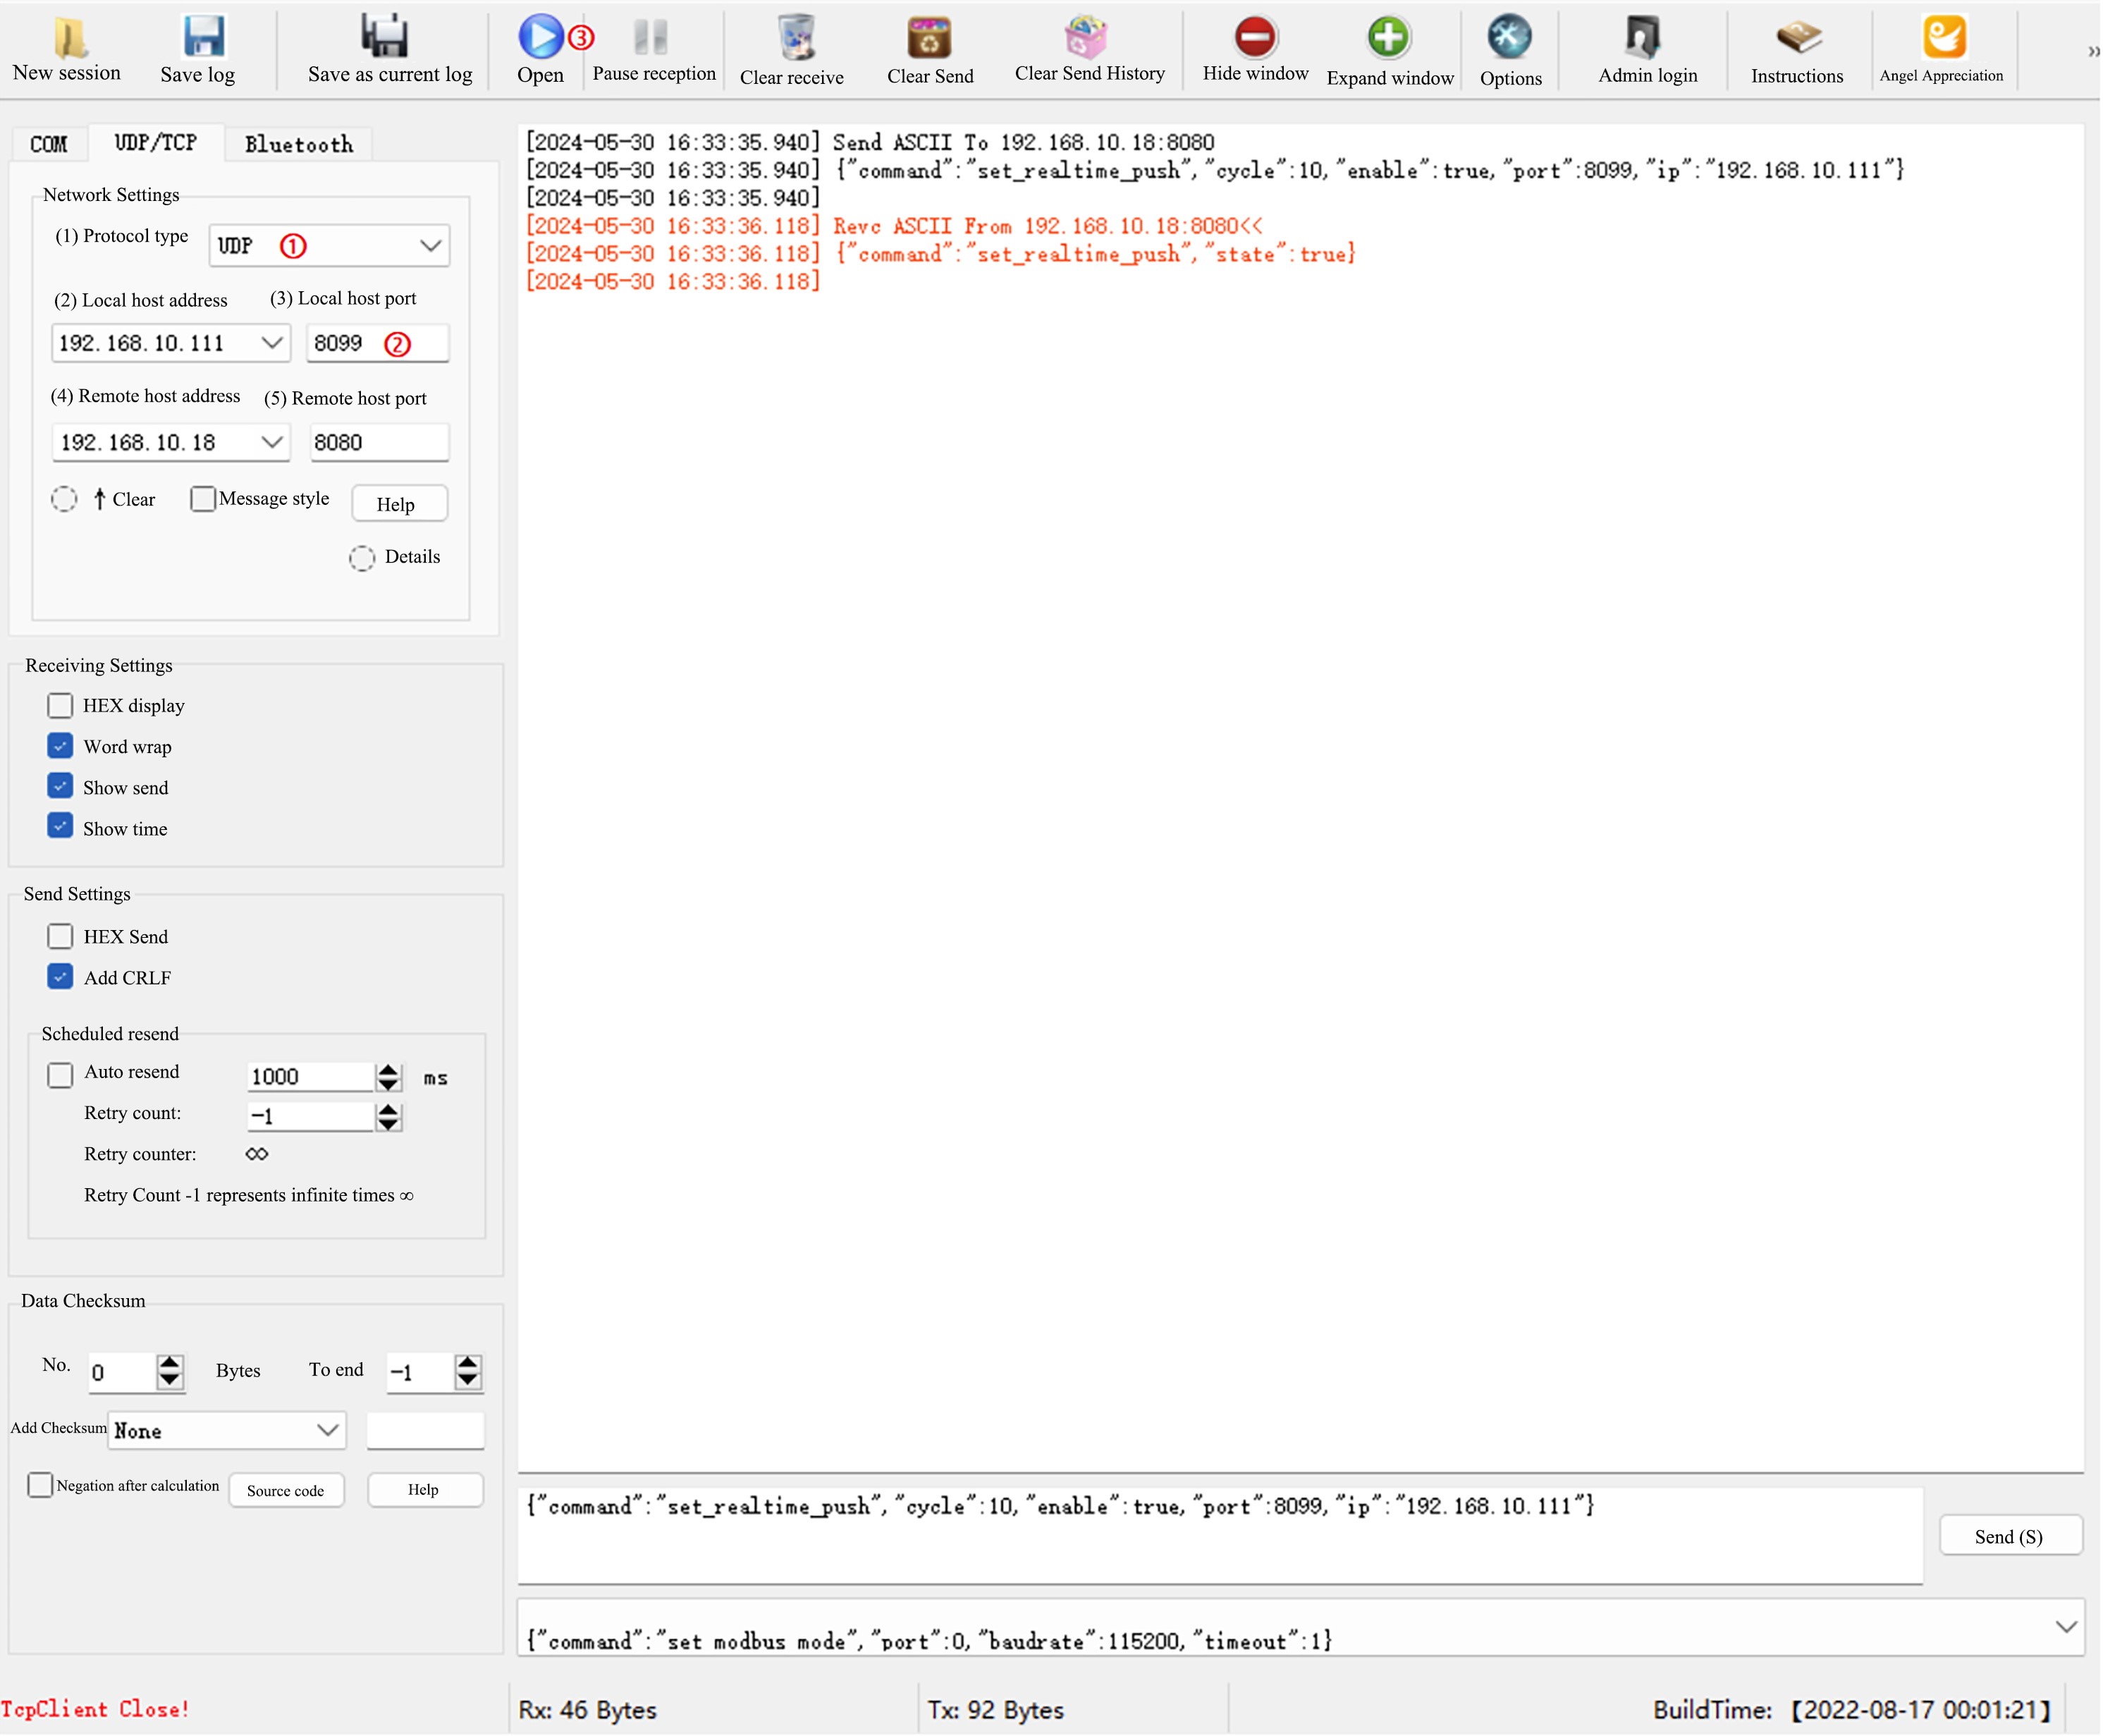
Set the local host port to the custom port value in the Json instruction. The value set this time is 8099.
Click
Opento turn on the UDP return mode.The robotic arm sends back the current status of the robotic arm in real time at a set cycle.