Start guide:
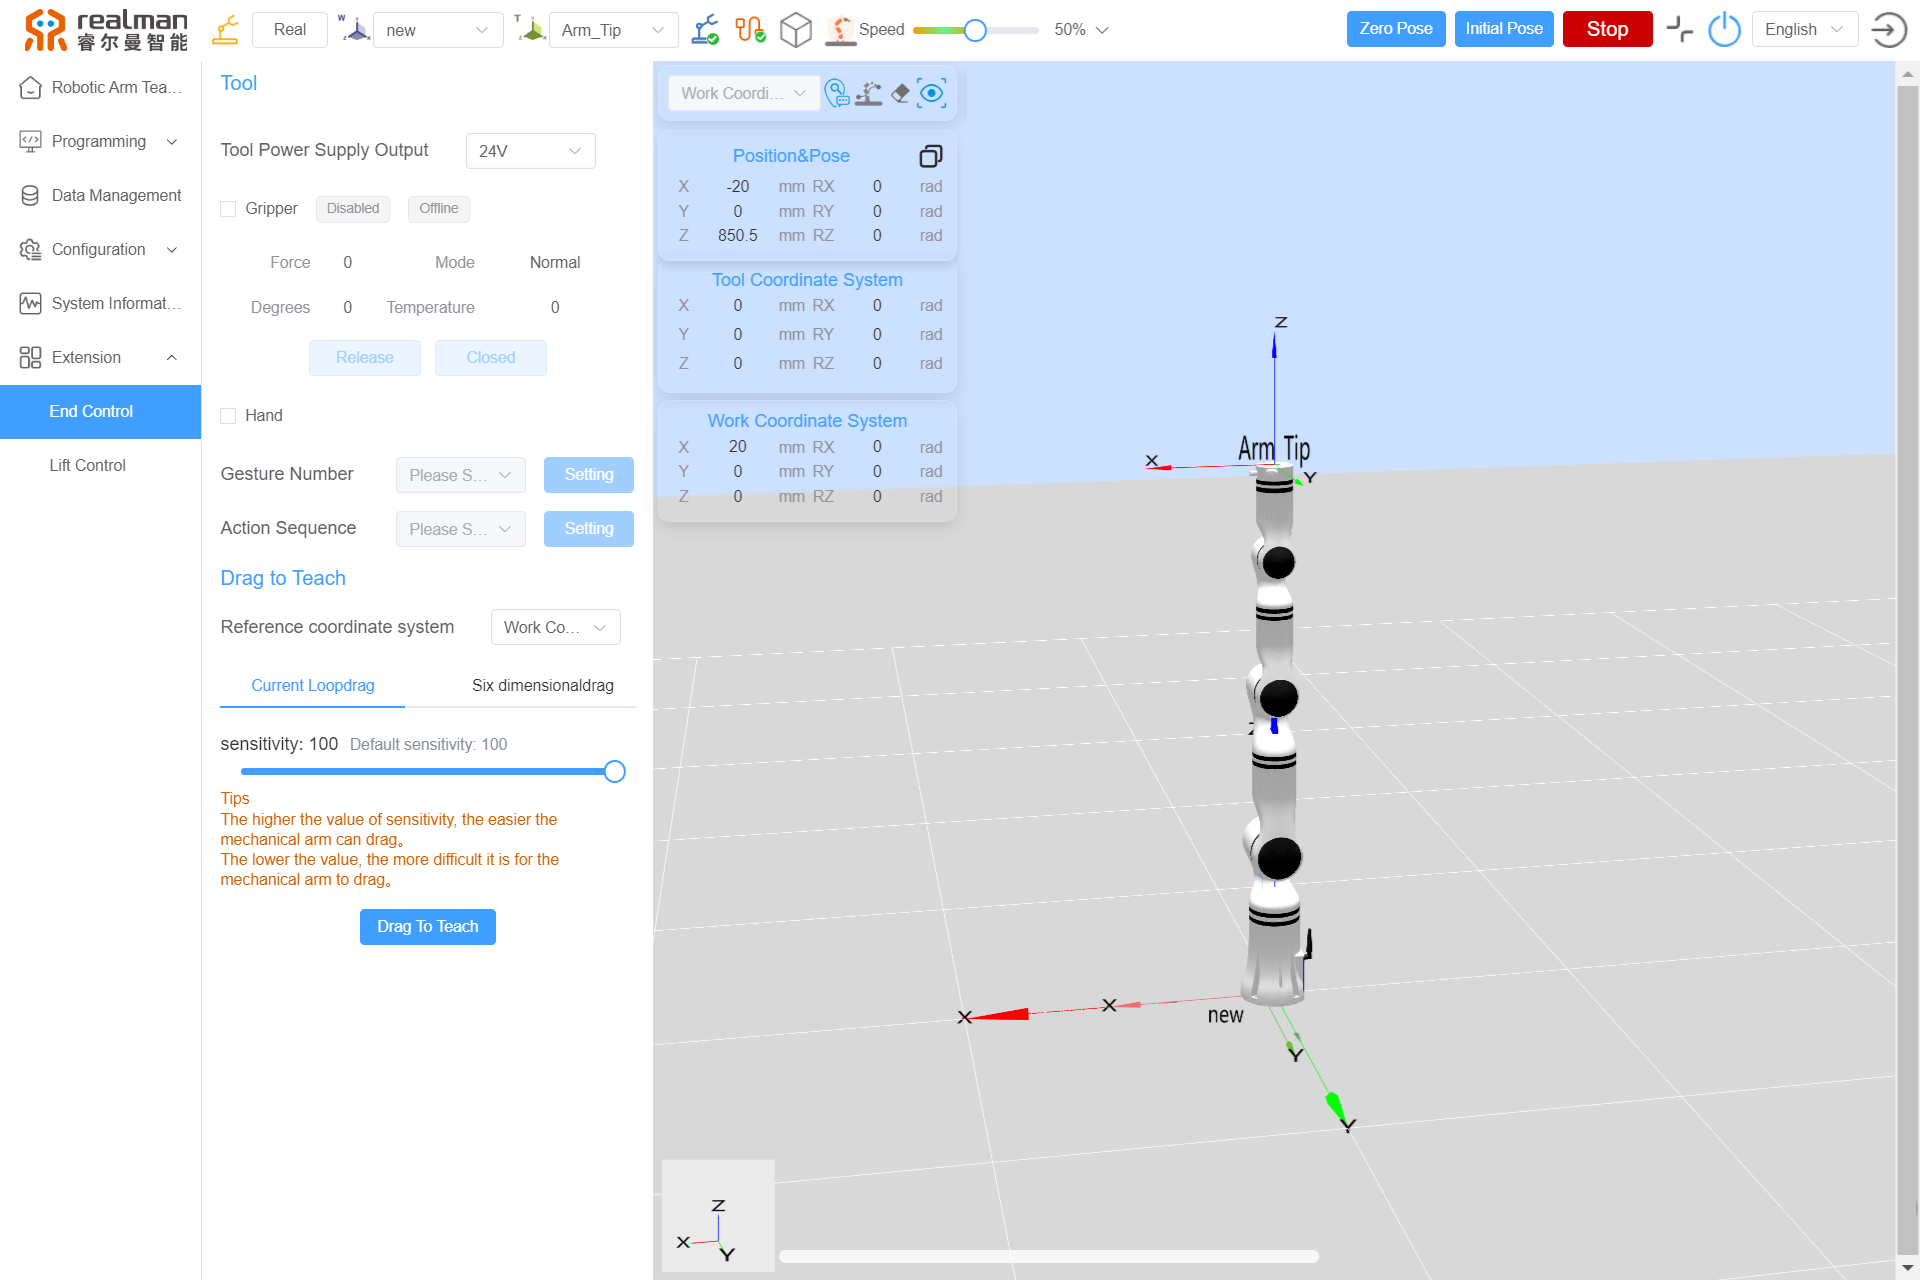
Robotic Arm Extension In the extension interface of the teach pendant, the End effector Tools can be configured and drag-teaching settings can be made, as shown in the image below:

End effector control
End effector Tool
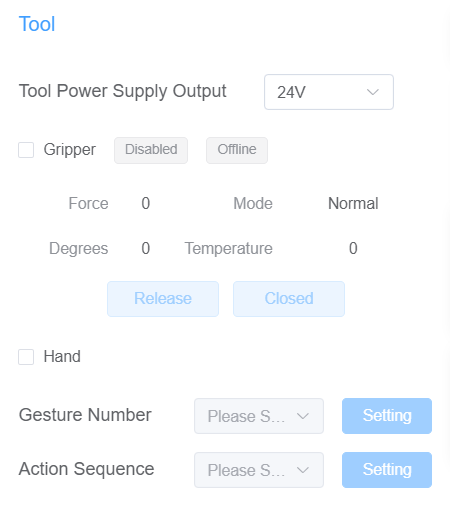
In the extension interface of the teach pendant, the End effector Tools can be configured, and the output voltage from the tool end can be switched. Simple controls can also be performed on the end effector gripper, as shown in the image below:

Power output: This section allows configuring the external power output of the end interface board, which can be set to 0 V, 12 V, or 24 V.
External Devices: Currently, the tool end defaults to adding grippers and dexterous hands, with the option to add other devices in the future.
- Gripper Control: Install the gripper and check the box for the gripper. When the gripper status is enabled and online, you can view the current status parameters of the gripper and perform
ReleaseandClosedcontrols. - Dexterous Hand Control: After installing the dexterous hand and checking the box for the dexterous hand, you can set gestures and action sequences by configuring the
Gesture NumberandAction Sequence. TheGesture NumberandAction Sequencehere refer to the gestures and actions defined within the dexterous hand.
Drag teaching
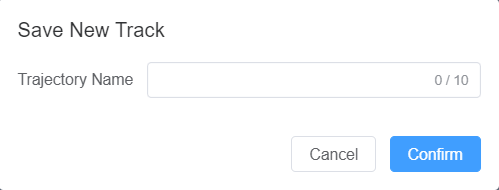
In addition to recording points and trajectories through the robot's teaching interface, the robot also supports a drag teaching feature. On the teach pendant, click the Drag teaching button, and then drag the robot. Once completed, click Finish drag teaching to complete the trajectory recording. A pop-up window will appear for saving the new trajectory file, allowing users to decide whether to save it based on their needs.
| Start drag teaching | Finish drag teaching |
|---|---|
After the trajectory recording is completed, click the blue button at the end of the robot to replay the trajectory.

Drag teaching includes the following modes:
- Reference Coordinate System: The working coordinate system and the tool coordinate system can be selected as needed.
- Current loop drag teaching: After enabling the current loop mode, the robotic arm can be dragged at any position to change its orientation. Users can adjust the sensitivity value; the higher the value, the easier it is to drag the robotic arm, and the lower the value, the harder it is to drag the robotic arm.
- 6-DOF Drag Teaching: This drag mode is only available for robotic arms with the 6-DOF version. Users can select the drag mode and whether to enable the drag singularity wall as needed, and it supports various drag methods such as customize, Only position, Only pose, and Position pose. Users can also freely combine the drag states of the six-dimensional force version robotic arms.
- Drag Mode: Precise Dragging Mode, which is heavier to drag but offers higher precision, suitable for precise dragging to the target position; Fast Dragging Mode, which is lighter to drag but has lower precision, suitable for quickly dragging to the target position.
- Drag Method: Only position, allows the robotic arm to move through all axes without rotation; Only pose, allows the robotic arm to move in a spherical motion around the TCP (Tool Center Point) on all axes; Position pose, allows movement through all axes, with all axes being free.


When the end effector tool is equipped with our standard two-finger gripper, the drag teaching process can record not only the robot's trajectory but also the actions of the gripper. While long press the green button to perform drag teaching, long press the blue button to close the gripper; press the blue button to open the gripper.
Lift control and expansion joint control
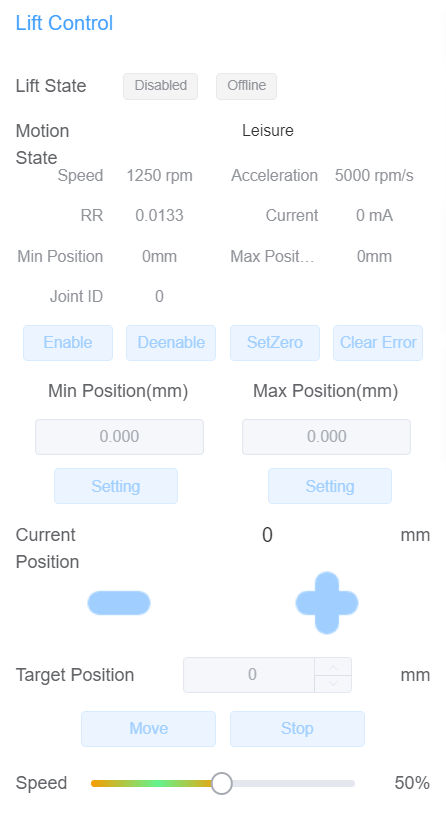
In the extension interface of the teach pendant, parameters for lift control can be configured as shown in the image below. Users can move the lift to ascend or descend from its current position or set a target position and click the "Move" button to move the lift to the desired height.

In the extension interface of the teach pendant, you can control the extended joints. When an expansion joint is connected, parameters such as current speed, acceleration, current, maximum/minimum limits, and reduction ratio coefficient will be displayed. To avoid errors after connecting the joint, clear the joint errors first and then enable it. The expansion joint can move in both the forward and reverse directions. Additionally, users can set a target angle for movement and adjust the speed of the expansion joint's motion below.

